This page provides a quick guide of all steps recommended to test our products on Android devices: phones and tablets.
These steps are by no means required. You may peruse the other pages on this site and transfer the files as you see fit to your device. However, they present one good way that we believe should work.
We welcome your feedback about alternate and better ways to improve on loading the data to the unit.
No Cables Required
None of the steps below require a connection to a computer. You can perform all of them wirelessly while on the move.
Tools
In this page, we base our detailed instructions on the following:
- Date: created on 26 April 2015.
- Route: Route 66.
- Device: Samsung Tab 4 running Android version 4.4.2.
- Device memory: check that you have at least 500MB of free memory on your device.
- Open Settings
- Open General
- Open Storage
- Look for Total space available
- Apps: Locus Pro to view tracks and service points.
Load Tracks
- Install Locus Pro (or your chosen app) before downloading the data.
- Download route for your trip using the Chrome browser. (Note: The generic "Browser" will not work correctly.)
- If you get a barrier page when you try to download the data, make sure you are signed into your My Adventure Cycling account.
- The file you download is compressed ZIP. Download it to the device to store in My Files.
-
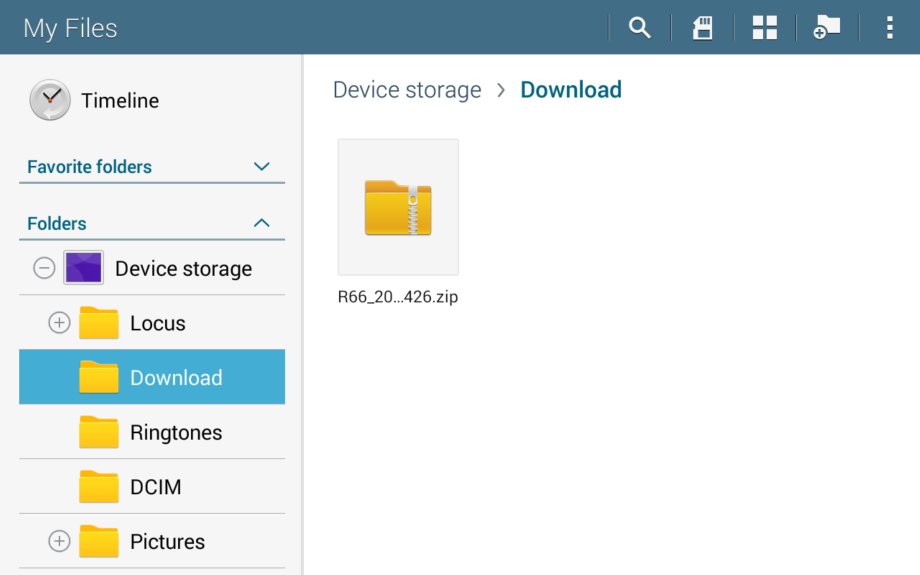
- Select the package ZIP file to expand it.
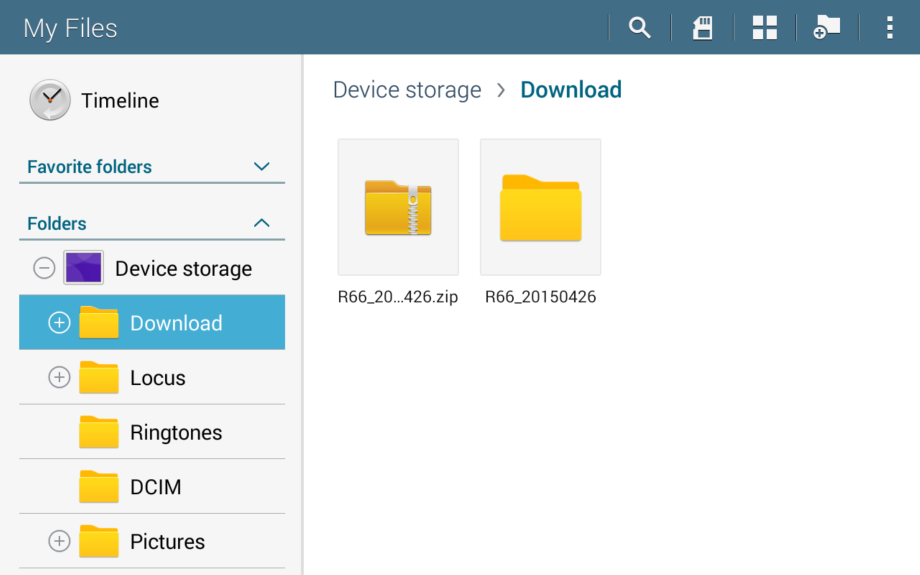
- This will create a new folder with all the data files. In our example, it is R66_20150426.
- Select to view the new folder.
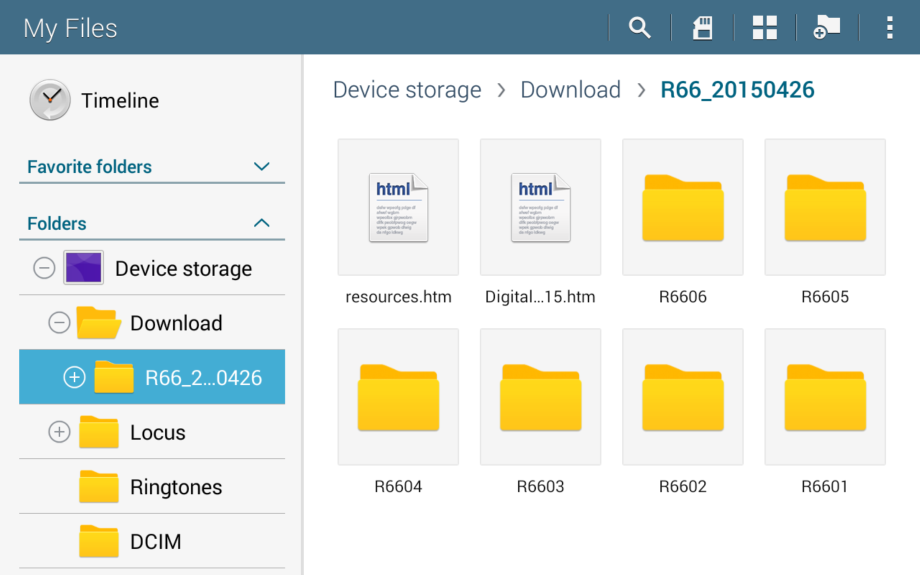
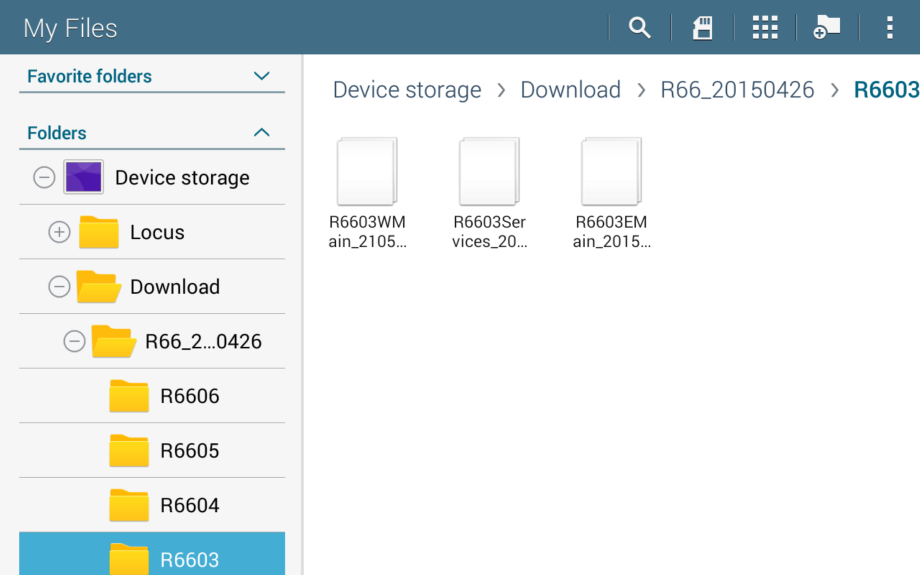
- Depending on the package your purchased, it will contain the GPX data in a number of GPX files that have ".gpx" extension. These may be in multiple folders when you purchase all sections for an entire route.
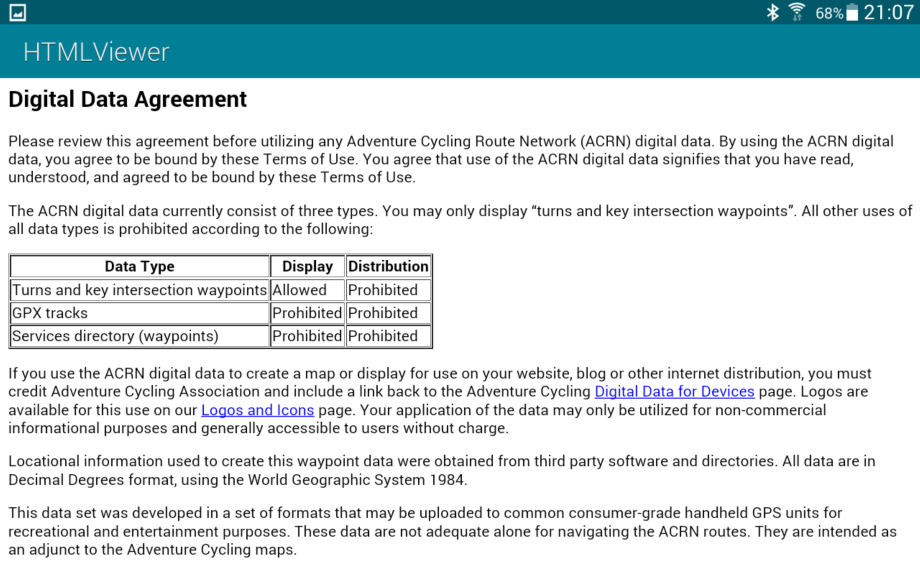
- Read and agree to the GPX Data Agreement file included.
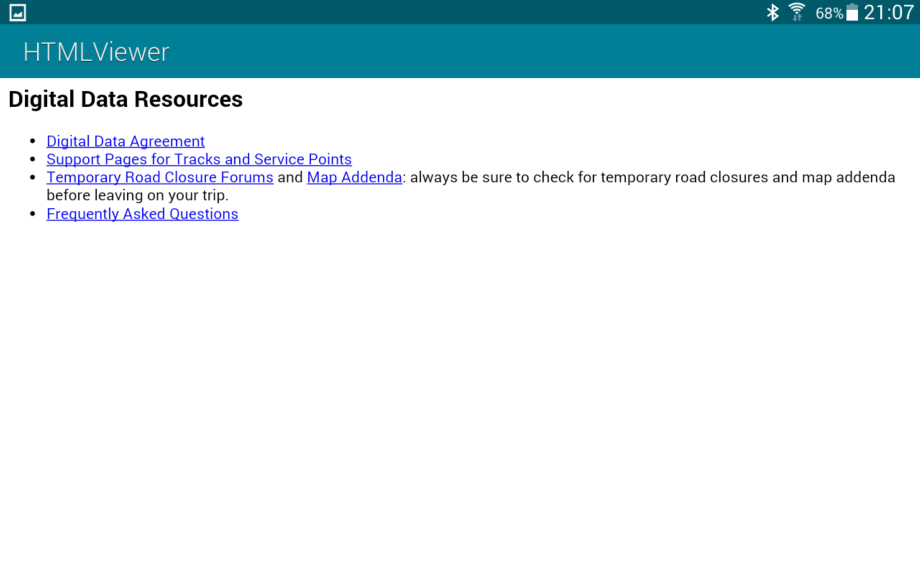
- View the resources file for links to:
- Support Pages for Tracks and Service Points
- Temporary Road Closure Forums and Map Updates and Corrections (Addenda)
- Frequently Asked Questions
- Select folder for section 3.
- Select track for the main route traveling west. It will be imported directly into Locus Pro.
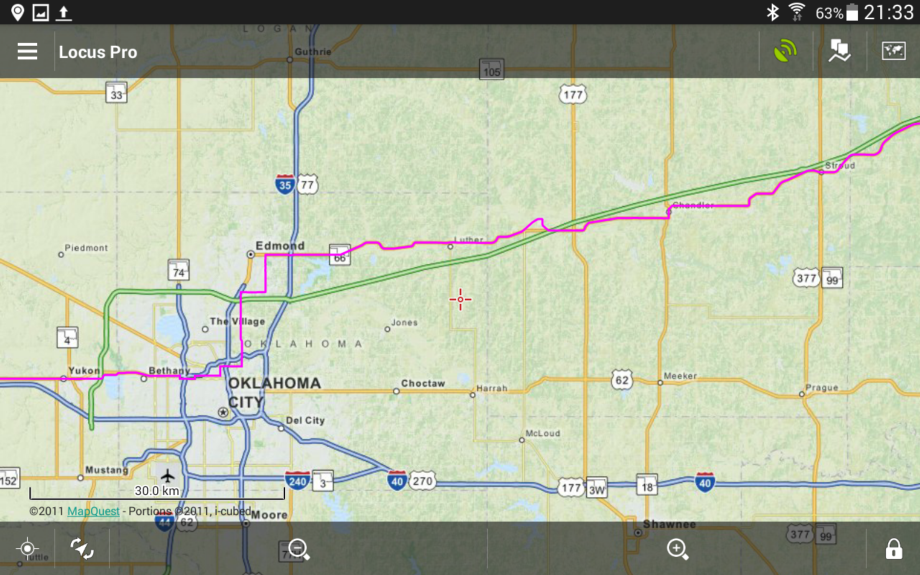
- The track shows on map in purple line. A blue dot indicates your location compared to the track.
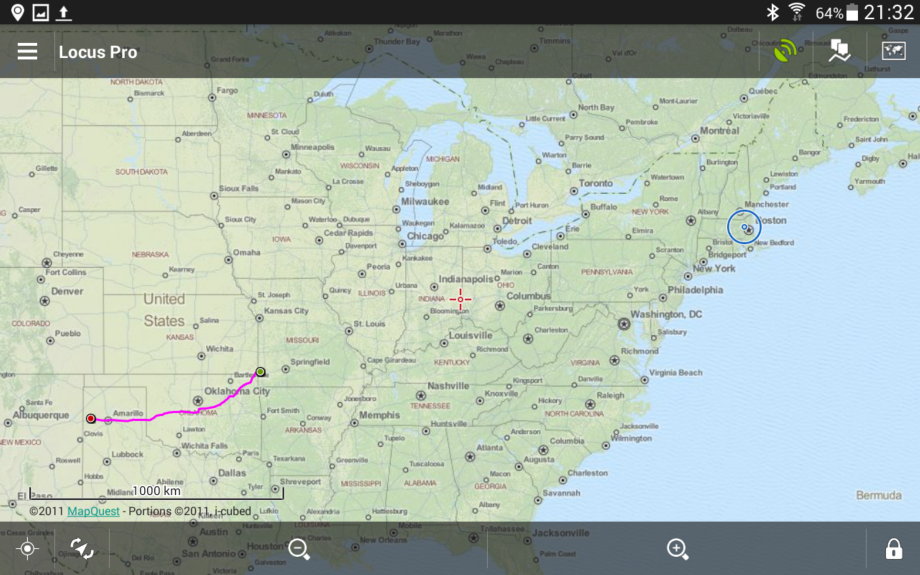
- Browse the map, zoom in and out, and start navigating.
Load Service Points
- Open My Files to view the GPX data.
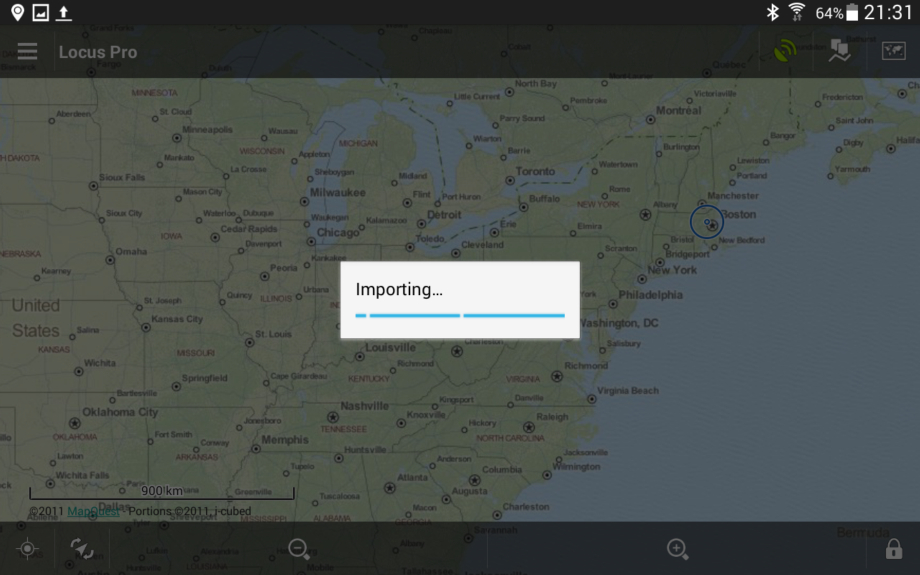
- Select the file for service points. It will open directly in Locus Pro app.
- During import, the app may show a warning sign about services with the same name. Select to ignore it.
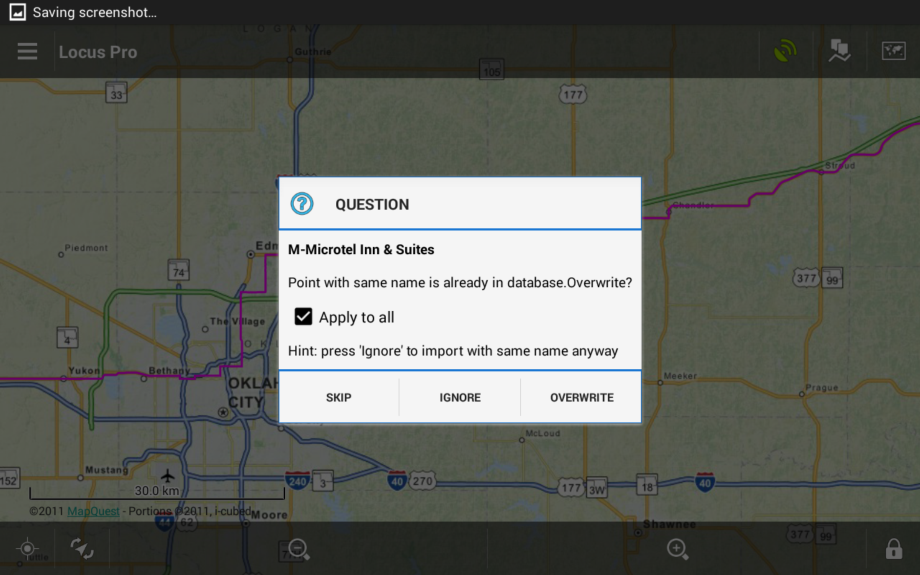
- You should receive a message to confirm successful import.
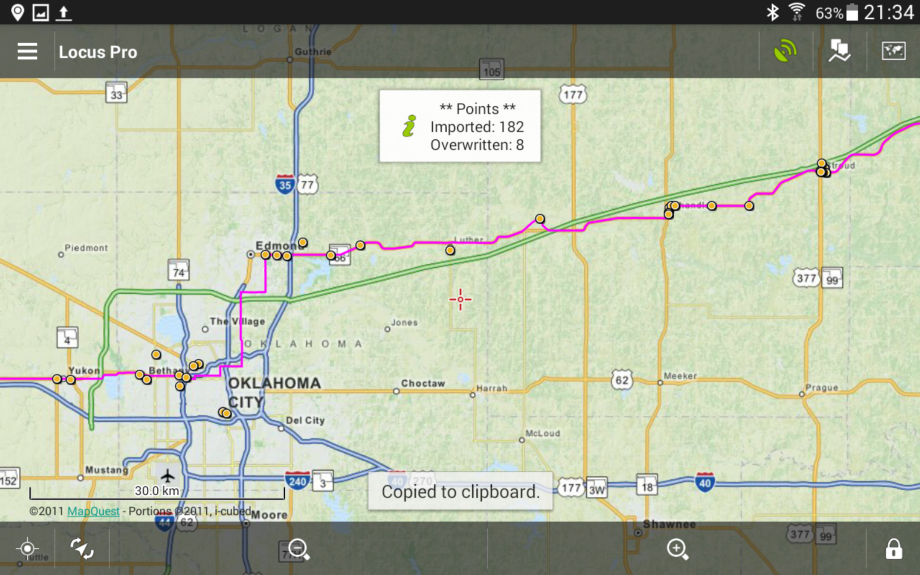
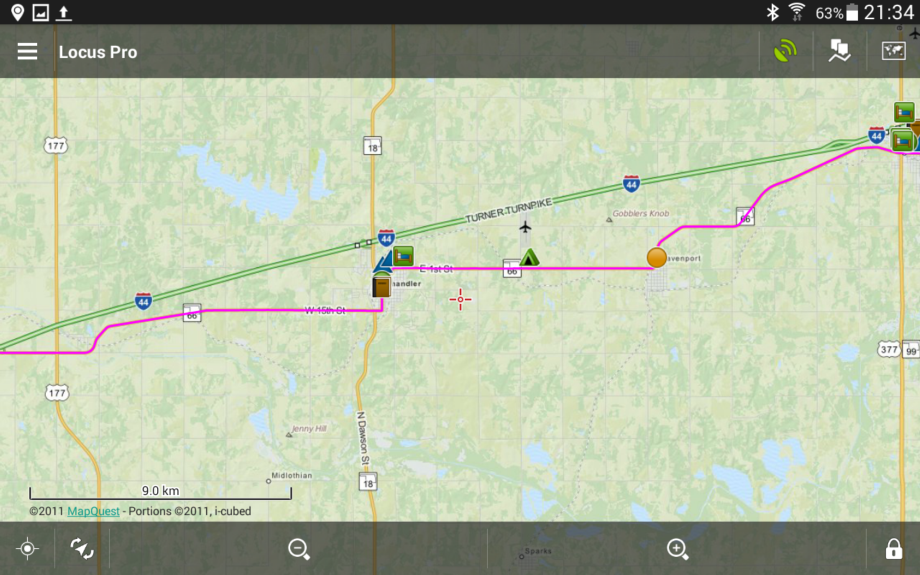
- Browse the map, zoom in and out, and start navigating.
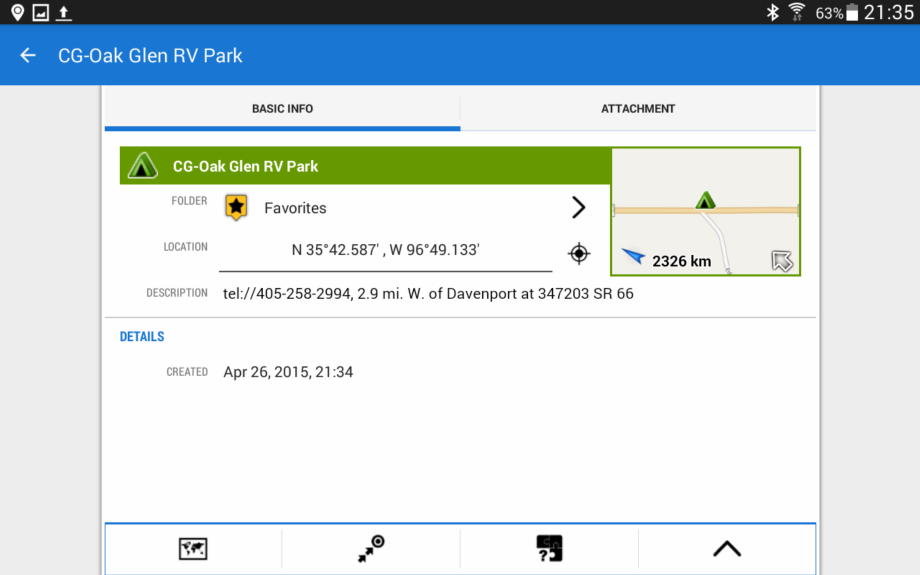
- Select group of icons to view details.
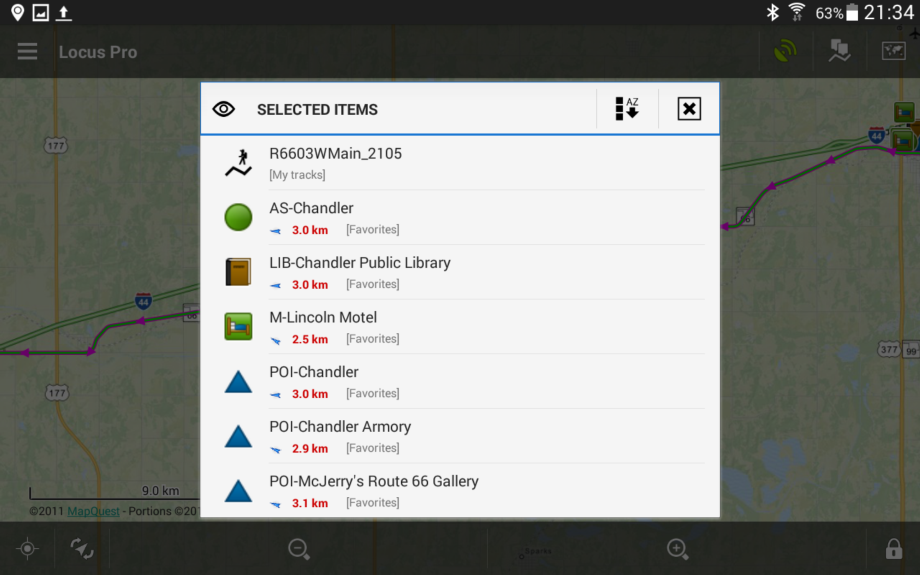
- Select one of the services to get more information about it.
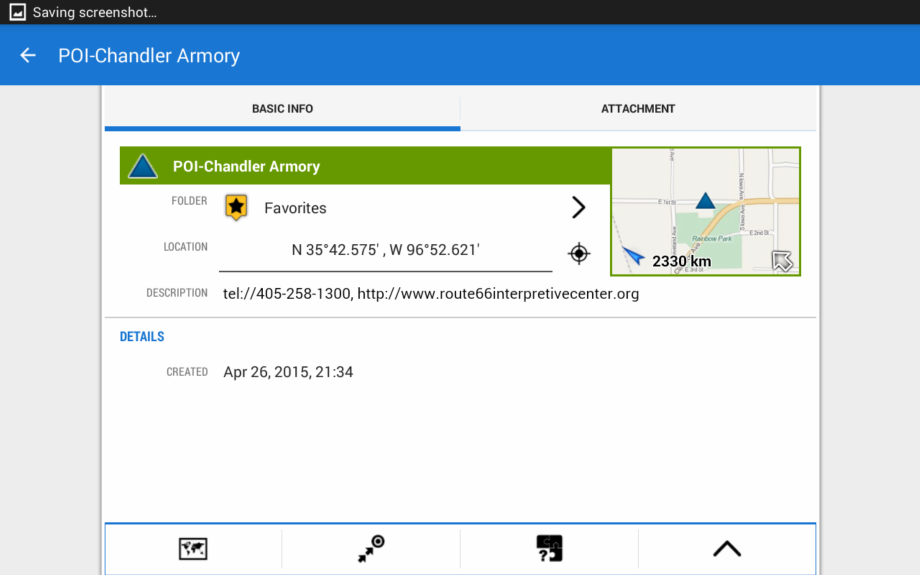
- Other service points may contain different information such as direction, address, and working hours.