This page provides a quick guide of all steps recommended to use our products on Garmin Edge Touring series.
These steps are by no means required. You may peruse the other pages on this site and transfer the files as you see fit to your device. However, they present one good way that we believe should work.
We welcome your feedback about alternate & better ways to improve on loading the data to the unit.
Topics addressed in this guide:
Software
Information below was created on 28 April 2015 using the Garmin Edge Touring Plus with software version 2.70 and a PC with Windows 7. Screens and menu options may change with different software releases.
Find Data
- The file you download when you purchase GPX data is a compressed ZIP file.
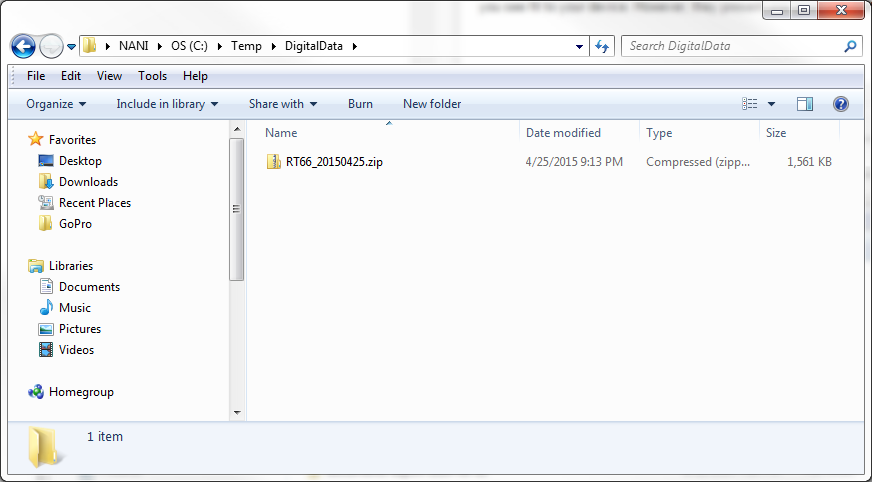
- Expand that file on your computer to retrieve all the individual GPX files contained within it. To expand the file, double-click on it or choose to Open it from the menu.

- Depending on the package your purchased, it will contain the GPX data in a number of GPX files that have ".gpx" extension. These may be in multiple folders when you purchase all sections for an entire route.
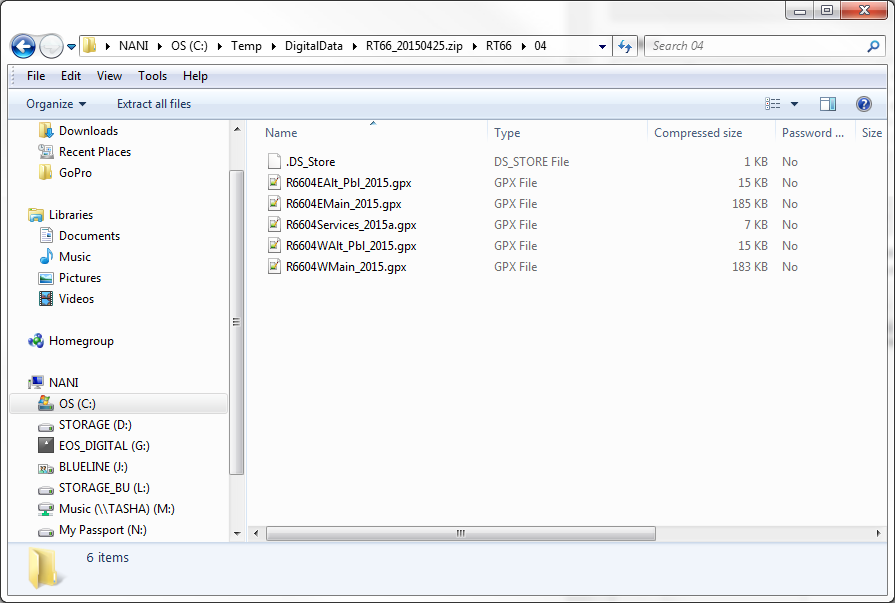
- Read and agree to the GPX Data Agreement file included.
- View the resources file for links to:
Service Points
We do not recommend using the service points on the Edge Touring yet. The service points can be used on Edge Touring devices, but with the following limitations:
- The device can only store 200 waypoints at any one time, regardless of where the file is stored. In a majority of cases, that will be enough for one section only. As you travel from one section to the next, you will need to remove old points before adding new ones.
- Deleting and replacing points is difficult. We have found only 2 choices:
- Manually deleting points one at a time on the device
- Deleting the entire locations.fit file, which will remove ALL waypoints from the device.
Consider viewing service points using your mobile device. It offers larger screen, quick browsing, higher capacity for all points along a route, and more details about each point.
If you still want to use the service points on your Edge device accounting for the limitations, see the FAQ on this subject for more information.
Tracks
Load Tracks
- Identify track files from their names.
- Select the files you need for your trip, depending on the sections and direction you want to travel. You can also select all the files and decide later while on the road about the ones you want to use.
- Copy track files to your device’s memory. Do not copy files for services yet—we discuss these further in a separate section on this page.
- Connect the device to your computer with USB cable.
- A storage folder should appear. Two will appear if you have a micro SD card in the device.
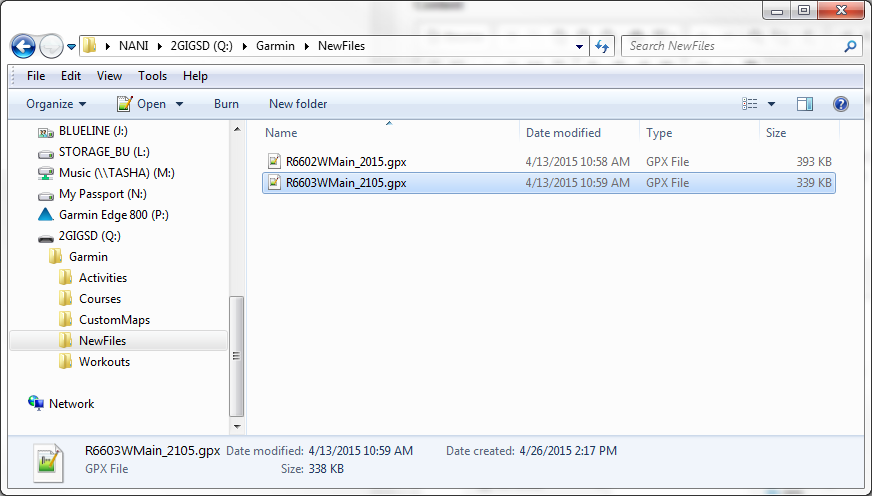
- Select the storage folder for your device. This is likely called GARMIN.
- Locate a Garmin folder.
- Locate a NewFiles folder.
- Copy the files from step 2 above into NewFiles folder.
- In this example, we copy the tracks traveling west for sections 2 and 3.
Verify Tracks
- Disconnect the device from your computer.
- Turn the device on.
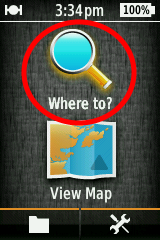
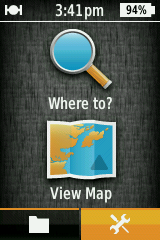
- Select Where To?
- Select Saved.

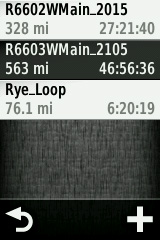
- Select Courses.

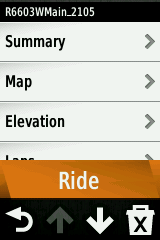
- Select a course from the list.
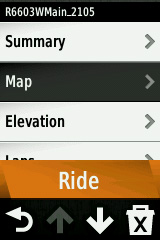
-
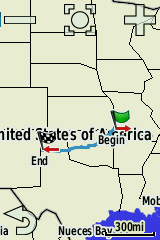
Select Map, and view the track. All of our tracks are under 10,000 points – a common GPS limitation. However, if you do not see the whole course, check your device’s track point limits.
Navigate Tracks
To navigate the track with Garmin generated turn prompts (see note below), follow steps 3-6 under Verify Tracks, then select Ride.
NOTE: The Garmin turn prompts are not always reliable. The reliability varies depending on how the device map matches the one used to generate the track. Since they are unlikely to be identical, turn prompts may occasionally give incorrect information or attempt to calculate different routes.
In general, you should follow the dark purple line with black outline on the screen. The device may calculate its own route with a light purple line. Ignore that, unless you believe road conditions changed and you had a chance to verify this new calculated route.
Important Settings
For the most accurate track navigation, we recommend the following settings:
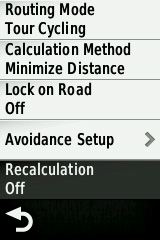
Turn Recalculation Off
At times when the device believes you are off-course, it will attempt to recalculate the entire course for you, giving you a new one that will not match the original. Therefore, it is best to turn off recalculation. When you get off course, use your location on the screen to navigate back.
- Display home screen on the device. Select settings (wrench symbol in lower right corner)
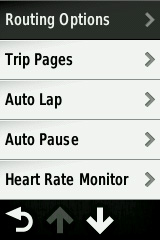
- Select Routing Options
- Select Recalculation and select Off
Turn Off Course Warnings On
To have your device notify you when you get off track, turn Off Course Warnings on.
- Select Where To?
- Select Saved.
- Select Courses.
- Select a course from the list.
-
Select Settings.
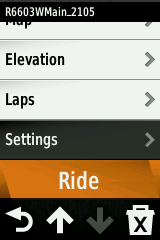
-
Select Off Course Warnings and select On.

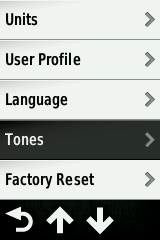
If you can’t hear the course warnings, make sure tones are on.
- Display home screen on the device. Select settings (wrench symbol in lower right corner)
- Select System
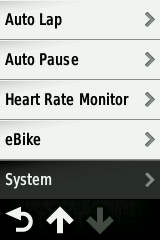
- Select Tones and Select On