This page provides a quick guide of all steps recommended to test our products on Garmin eTrex series. We believe these steps should also be similar to ones to use on Garmin Montana and Oregon devices.
These steps are by no means required. You may peruse the other pages on this site and transfer the files as you see fit to your device. However, they present one good way that we believe should work.
We welcome your feedback about alternate & better ways to improve on loading the data to the unit.
Topics addressed in this guide:
Software
Information below was created on 26 April 2015 using the Garmin eTrex 30 with software version 3.40 and a Mac computer using OSX 10.10.4. Screens and menu options may change with different software releases.
Find Data
- The file you download when you purchase GPX data is a compressed ZIP file.
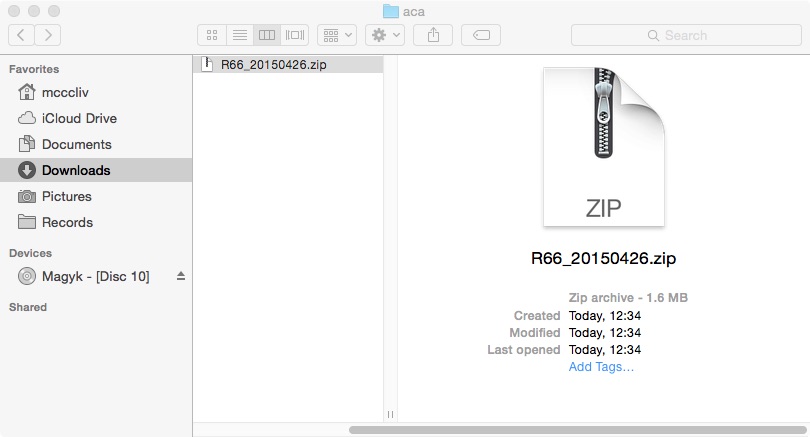
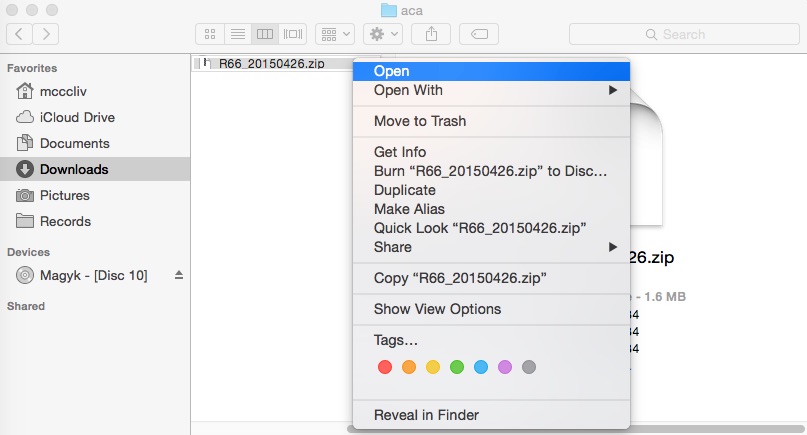
- Expand that file on your computer to retrieve all the individual GPX files contained within it. To expand the file, double-click on it or choose to Open it from the menu.
- Depending on the package you purchased, it will contain the GPX data in a number of GPX files that have ".gpx" extension. These may be in multiple folders when you purchase all sections for an entire route.
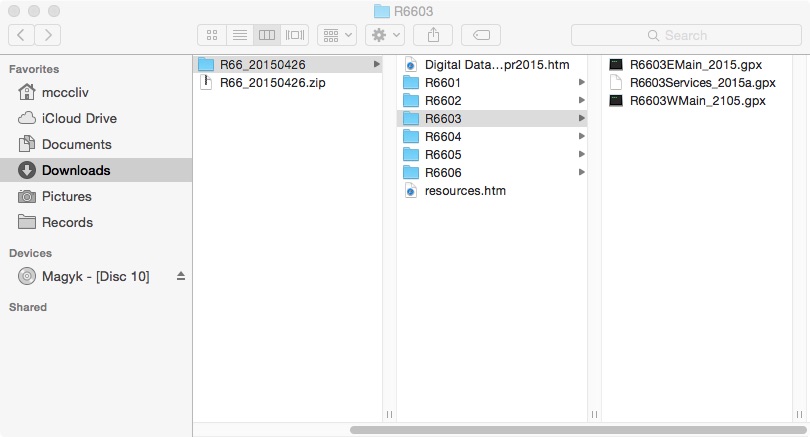
- Read and agree to the GPX Data Agreement file included.
- View the resources file for links to:
Load Data
- Identify files from their names.
- Select the files you need for your trip, depending on the sections and direction you want to travel. You can also select all the files and decide later while on the road about the ones you want to use.
- Copy track and/or service point files to your device’s memory.
- Connect the device to your computer with USB cable.
- A storage folder should appear. Two will appear if you have a micro SD card in the device.
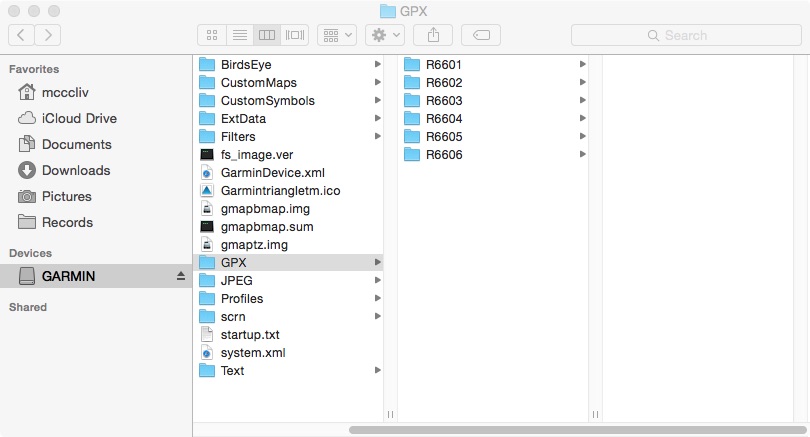
- Select the storage folder for your device. This is likely called GARMIN.
- Locate a Garmin folder.
- Locate a GPX folder.
- Copy the files from step 2 above into GPX folder.
- In this example, we copy the entire package for Route 66.
Tracks
Navigate Tracks
- Disconnect device from your computer.
- Turn device on.
- Select Where To?.
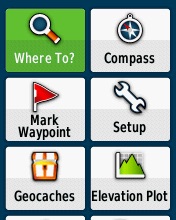
- Select Tracks.
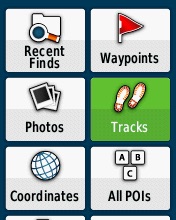
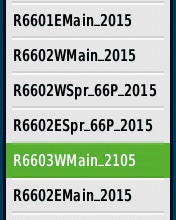
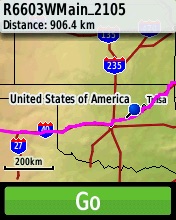
- Select a track to navigate.
- All of our tracks are under 10,000 points – a common GPS limitation. However, if you do not see the whole course, check your device’s track point limits.
- Select Go.

Service Points
The eTrex can store up to 2,000 service points at one time. None of the routes that we have published so far exceed this number for the entire route. However, if you are combining routes, keep this limit in mind.
View Service Point Information
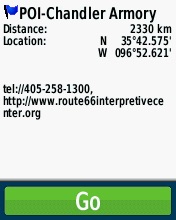
As you navigate, you will see service points along the route, or you can search for them.
- Identify service points from their names.
- Choose a service point when it appears on the screen.
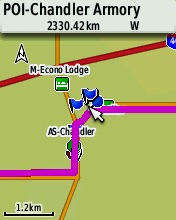
- Select the service point to view its details.