Navigating Your Bikepacking Route
Once you have a route picked out, you’ll likely need a way to navigate it. (If you haven’t picked a route, check out Chapters Two and Three of our Bikepacking Basics guide). With established routes, the navigation app or map might be chosen for you. With others, you might simply have the GPX data you can use on any app or routing device.
A good backcountry navigation system includes two things:
- Your intended route and where you are along it.
- “Big picture” map showing nearby roads and trails, landmarks, and topographic features and how they connect to the surrounding area. This is for finding the nearest main road in case of a problem, planning a shortcut if you get behind schedule, or answering the question, “What’s that cool thing over there, and should we take a detour to go see it?”
Anyone with a smartphone can cover both these bases for free or very cheap with some simple GPS navigation and mapping apps. Sometimes you’ll even be able to see the elevation profile and locations of water sources, camping, and services along the way.
Whichever navigation system you choose, consider these important tips:
- Don’t expect to find road signs or people to ask for directions.
- Bring a backup navigation system in case your primary gets wet, broken, or lost.
- Download everything you might need — GPX files, overview maps, route notes, etc. — before starting your trip so you can navigate without any phone or data service.
Devices and Apps
If you’re riding an Adventure Cycling route, we’ve compiled everything you need into handy paper map sets. They include route maps, service directories, and elevation profiles. The maps have turn by turn directions, a route line to follow, and services.
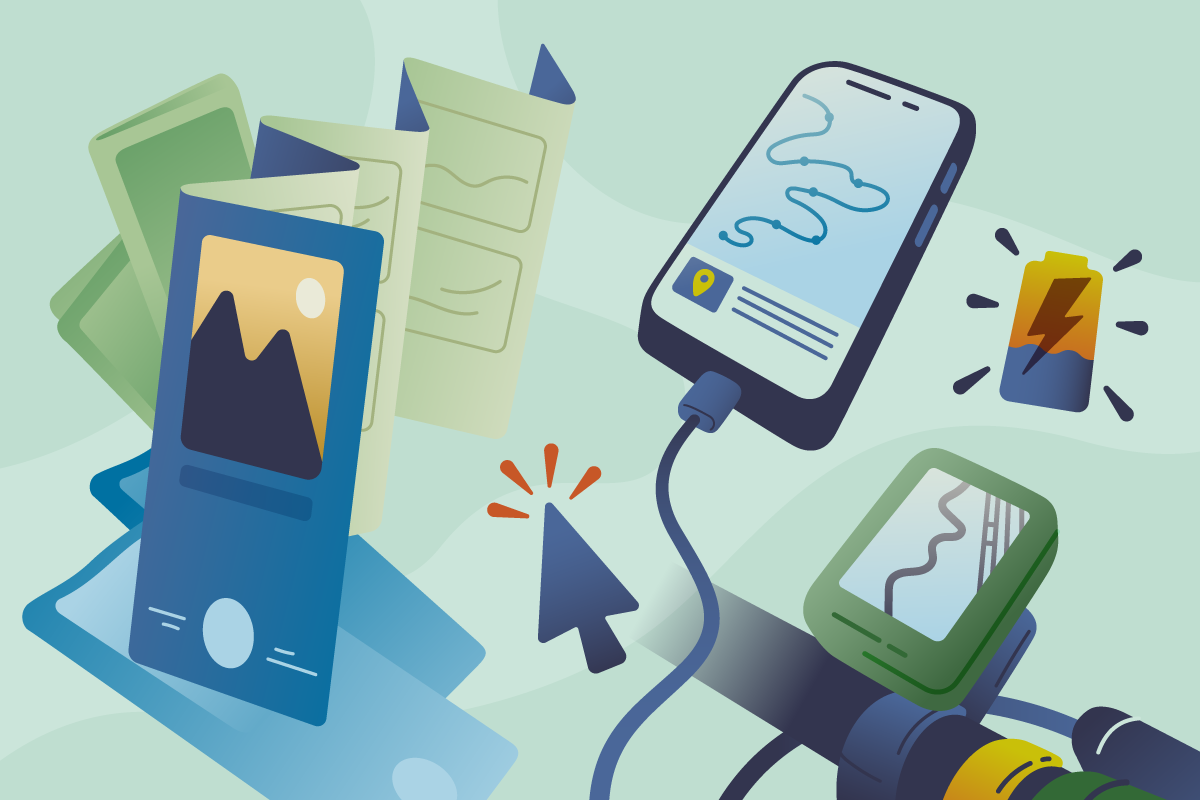
There are several free or low-cost smartphone apps which can import GPX route tracks and download maps for offline navigation. Ride with GPS is a common and convenient choice, since many route designers publish their maps via the platform, but it doesn’t provide detailed maps of the surrounding area. Backcountry Navigator and Gaia GPS are two other popular options that provide both GPS route navigation and offline map tiles for larger areas. The Maps.me and Google Maps apps both offer downloadable maps of major roads, useful in case you need to reroute or change plans.
Smartphone apps are a great way to get started quickly and cheaply, but they’ll drain your battery faster than usual so be sure to carry an extra power bank (or two). They’re also surprisingly vulnerable to the rigors of backcountry travel, so keep them safe in a case or bag to protect against water, dust, and impact.
Avid bikepackers sometimes invest in a dedicated GPS device like a Garmin or Wahoo Elemnt, usually mounted on the handlebars. These provide similar functionality to smartphone apps but are more sturdy, waterproof, and have better battery life.
Paper Maps
Paper maps are best used to supplement GPS navigation. Backcountry roads and trails are rarely marked with signs, so while a map will show the route, that’s not very helpful unless you know where you are along it. That said, a paper map can be just the thing for understanding the big picture and making route adjustments on the fly.