Who Needs Fenders?
This article first appeared in the July 1999 issue of Adventure Cyclist magazine. It has been updated to reflect changes in technology and product quality by Paul Buchanan (@thecasualroadie).
If you are a fair-weather, day-tripping cyclist, you don’t need fenders, but if you are a touring cyclist, and you’re not traveling exclusively in a desert climate, you really should have fenders on your touring bike. Fenders by themselves won’t keep you dry in a pounding rain, but they make a tremendous difference when you are riding roads that are wet from drizzle, recent rain, or snowmelt.
Even in hard rain, you will become wet with clean rain from above, but your body and bicycle will be protected from the mud and sand kicked up from dirty puddles and rivulets.
Fenders Protect Your Bicycle
Many cyclists protect themselves from rain by wearing rain gear, but they forget that their bicycles don’t like dirty water any better than their bodies do.
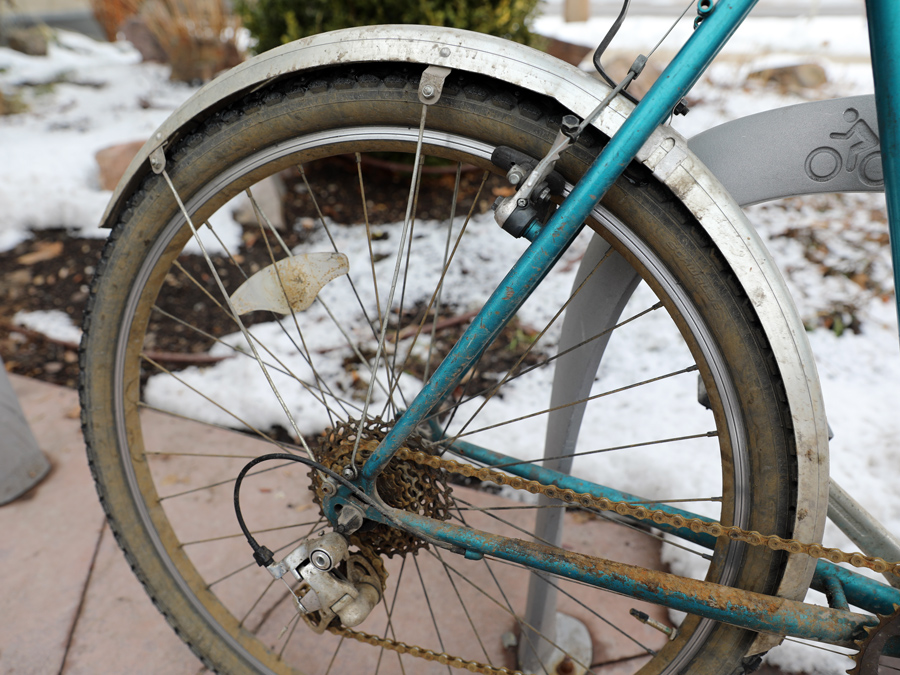
The water kicked up by your wheels is much worse for your bicycle than the clean rain falling from the sky. If you ride in wet conditions without fenders, your chain, derailers, and brakes will all get sprayed with sandy, muddy, scummy water, often mixed with gasoline residue. This is very bad for these parts. Your derailers will work better and longer, and your chain will last considerably longer, if you protect them from this filthy spray.
Even more vulnerable is the lower section of your headset. Headsets are designed to shed water like the shingles of a roof, and are basically rainproof, but the gritty spray from below has easy entry to the bearing surfaces of the heavily loaded lower races. All-weather cyclists who don’t use fenders need to service or replace their headsets on a regular basis, but those who use fenders hardly ever need to deal with headset problems.
Types of Fenders
Utility bikes generally have steel fenders, but most fenders intended for high-performance bikes are made of plastic, very thin aluminum laminated with plastic, or an aluminum alloy.
At one time, some of these, specifically the brand SKS, permitted the embedded aluminum foil to be used as conductors for lighting systems, permitting “wireless” taillights to run off a centrally mounted generator, but the hardware for this isn’t always available at bike shops in the U.S.
Full-length Fenders
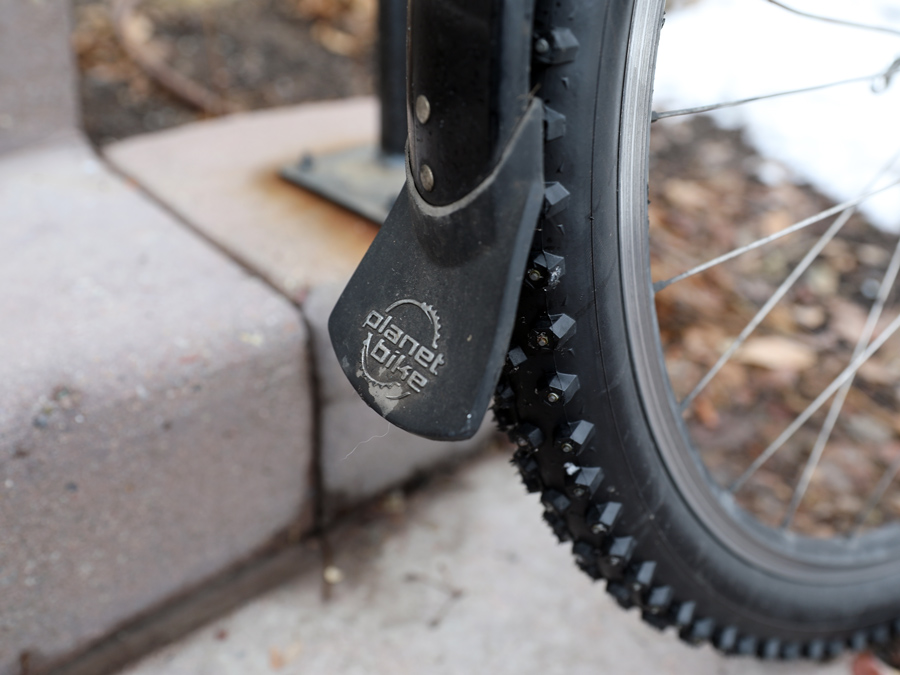
There is no substitute for full-length fenders, such as those from brands like SKS, Portland Design Works, SimWorks by Honjo, Velo Orange, and Planet Bike. The rears run from the chainstays all around the rear tire until they are pointing almost straight down at the back. The good ones have two pairs of stays (wire struts) to hold the rear part in position, and also attach to the seatstay and chainstay bridges. Some riders opt for a ‘buddy’ or mud flap on the rear fender as a courtesy to fellow riders and some fenders will even come with these standard.
The corresponding front fenders extend from about six inches in front of the fork, down well below the “equator” of the front wheel, again with stays. Ideally, the front should also be equipped with a mud flap to protect your feet from spray. This traditional fender design really works to protect you, your bicycle, and your baggage from spray kicked up by wet roads.
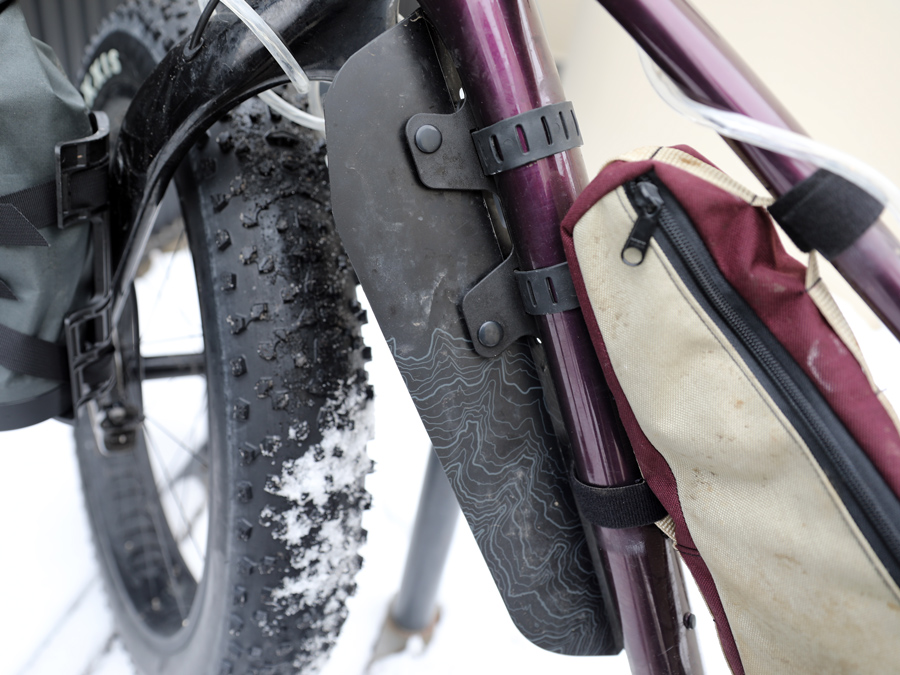
Clip-Ons
Since people find full fenders to be a bit of a hassle to install, a number of companies make “clip-on” fenders that snap on to the frame. Without stays to support the ends, clip-on fenders are necessarily much shorter than full fenders, which means that they offer much less coverage than full fenders. The clip-ons are slightly better than nothing, but very much worse than real fenders.
Unfortunately, some bikes are designed so that it is difficult or impossible to install real fenders. These bikes are designed for fair-weather use and are not intended for year-round cyclists. This is particularly true of racing or racing-style bikes, which often are made without frame eyelets to attach the fender stays to, and with insufficient clearance under the brake bridges and calipers to allow fenders to clear the tires. If you are stuck with such a bike, clip-ons may be your only option.
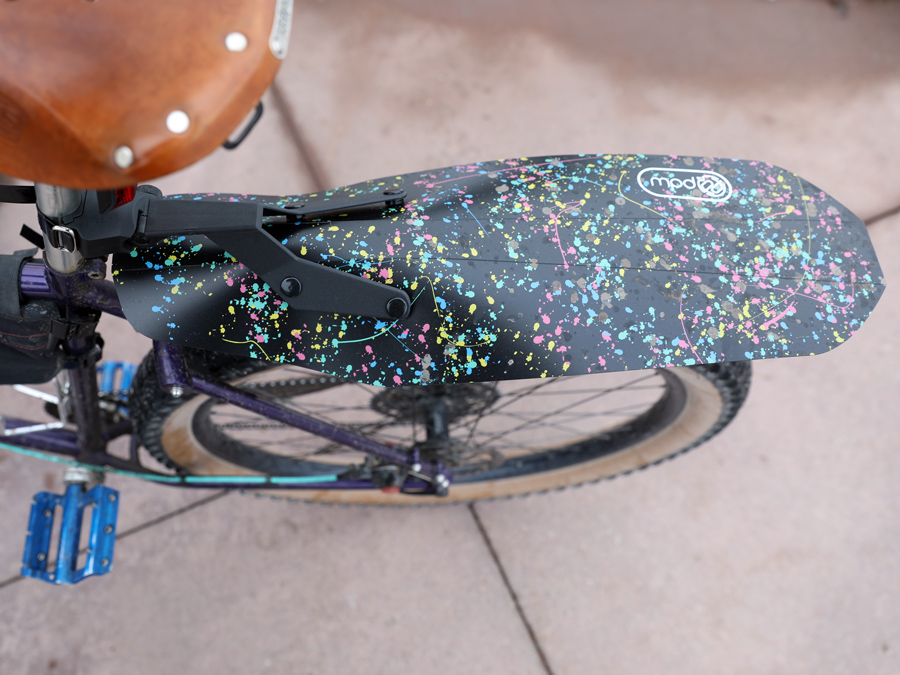
Shorties
A number of folks are making new shortie-style fenders for front and back. Muck-off, A$$ Savers, SKS, MSW, RockShox, Fox, WTB, and Topeak all make shorties, each about eight inches long and all variations on a theme. These were popular a few years back and are making a comeback, but they’re really next to useless. A front “shorty” will protect the headset, but that’s about all the benefit they have to offer.
Flat-top Pannier Racks
Many newer “mountain”-style pannier racks include a wide flat center section, which is sometimes represented as being a fender. This does help somewhat to keep you from getting your back sprayed by the rooster tail from your rear tire, but does nothing to protect your feet and legs, as a real fender does.
Installing Fenders
Proper fenders attach to the fork crown (front) and the chainstay and seatstay bridges (rear). On bikes with caliper brakes, they attach with the brake bolts; on bikes with cantilever or drum brakes, you need extra 6mm bolts to attach them (though you may already have these holding reflector brackets onto your bike.) If installing onto a bike with disc brakes, you may need a spacer to hold the stays away from the disc caliper.
The stays attach to the fork ends with (usually) 5mm bolts. I’d recommend using stainless-steel Allen-head bolts for this. The threads should be lubricated with grease or oil so that you can get them nice and tight. There are special large-diameter stainless-steel washers available at bike shops, which provide a better match between the bolt head and the loop of the fender stay, so that the loop doesn’t get deformed when you tighten the bolt.
The stays attach to the fenders with small eyebolts and nuts that use an 8mm or 10mm wrench. These allow you to adjust the fenders to follow the shape of your wheel. Make sure to lubricate these threads and tighten the nuts REALLY tight. I use a 14mm open-end wrench to hold the tab of the fender so that it won’t rotate/bend while I am tightening these nuts.
On fenders with stays that have ends pointing up, especially on the front fender, the stays should be trimmed off so that they don’t protrude far past the hardware of the fender, and be sure to sand the sharp end of the stay after trimming.
The first time you install a set of full fenders on a bike, it is a fairly time-consuming task, but after that, it isn’t that big a deal to take them on and off. Follow the installation instructions that come with whatever fenders you have.
If you have any questions or misgivings or have a single worry at all about your fender install, take it to a shop. Most shop folk are happier that you try and admit you aren’t 100 percent confident than for you to come in with a fender wrapped around your wheel and frame after a bolt came loose on the first ride.
Safety Issues
There is a potential hazard with fenders: it is possible to get debris caught between the fender and the tire, or between the moving spokes and the fender stays, which can cause some fenders to crumple up and lock the front wheel.
A lot of new fenders come with a snap-away fitting that connects the front fender stays to the fork ends. This is a very worthwhile feature, and these fenders are generally considered the best.
Toe Overlap
It is quite common for bikes with fenders to have some overlap between the rider’s toe and the front fender. Cyclists encountering this for the first time sometimes freak out a bit, and the unwary may have a low-speed fall or two before adjusting. Toe overlap tends to not be a problem at normal cycling speeds, because you only turn the handlebars far enough to cause a problem when you’re maneuvering around at a walking pace. With a bit of practice, it becomes automatic to avoid this sort of interference.
Mud Flaps
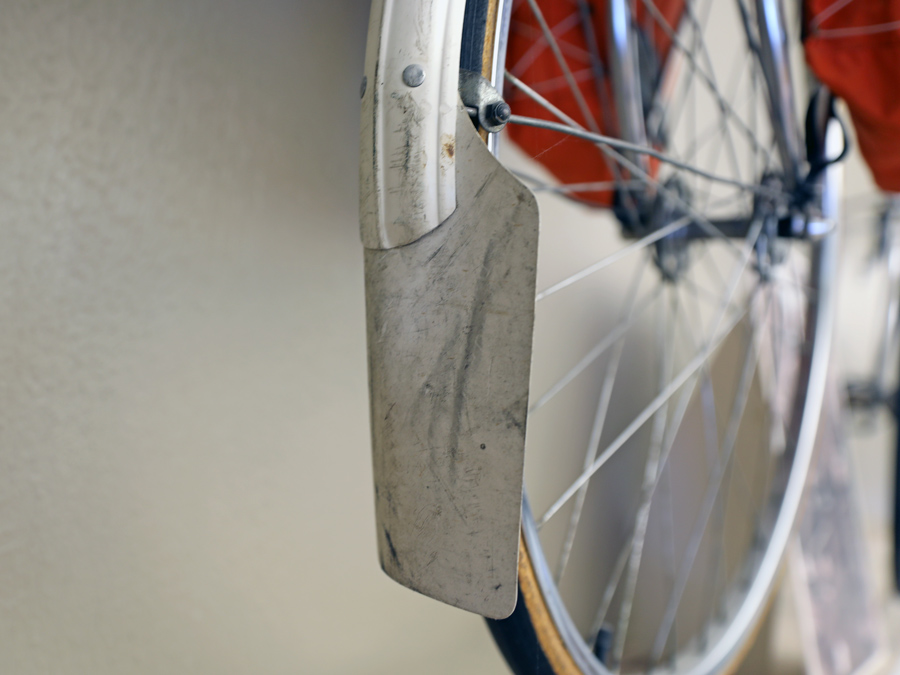
Fenders don’t extend down as far as they might for maximum protection, because the ends would be vulnerable to damage from curbs and the like. Instead, flexible extensions called “mud flaps” are a valuable addition. A suitable mud flap will extend spray protection all the way down to your feet.
Triangular rubber mud flaps were formerly a standard accessory item, became hard/impossible to find for a while, but are back in resurgence! These flaps used to be a bit heavy and stiff for mounting on plastic fenders, but their modern counterparts are much easier to install on all fender types.
Many rain-savvy cyclists make their own mud flaps for plastic fenders out of plastic milk/cider jugs, commonly secured by “pop” rivets or small screws and nuts.
If you mainly ride alone, you only need a front mud flap, but for touring with a group or riding in the city, it’s nice to have one on the back as well, for the benefit of whoever is riding behind you.