Where the Pavement Ends
There’s a new trend brewing in bicycle travel. Of course, it’s nothing new to ride bikes on dirt, and adventurous people have been strapping camping gear to bikes since long before the current bikepacking boom. But as roads grow more crowded and our daily lives more hectic, our collective urge to drop it all and ride off into the middle of nowhere seems to be growing stronger.
Whether you call it bikepacking, dirt-road touring, or gravel grinding, the concept is similar: ride your bike on dirt or gravel instead of pavement. It seems almost a technicality at first until you consider the implications. In the U.S. at least, dirt and gravel lead to the kinds of places pavement rarely does: places with very few vehicles, endless free camping options, and wide-open space as far as the eye can see. These are places that offer solitude and self-reliance.
Though touring in populated areas will always have its charms — more conversations with curious strangers, the smooth rhythm of pedaling on pavement, ready access to pizza and beer — riding remote dirt is alluring in its own way. If you’ve never tried it, there’s no better time. The last few years have seen an explosion in bikepacking route development, information, and gear.
The transition from pavement to off-pavement isn’t as complicated as the gear manufacturers would have you think. With just a bit of planning, your very next ride could be your first bikepacking trip. Here are eight tips for bicycle travelers interested in getting into off-pavement touring and bikepacking.
1) The bike you already have will work. Really!
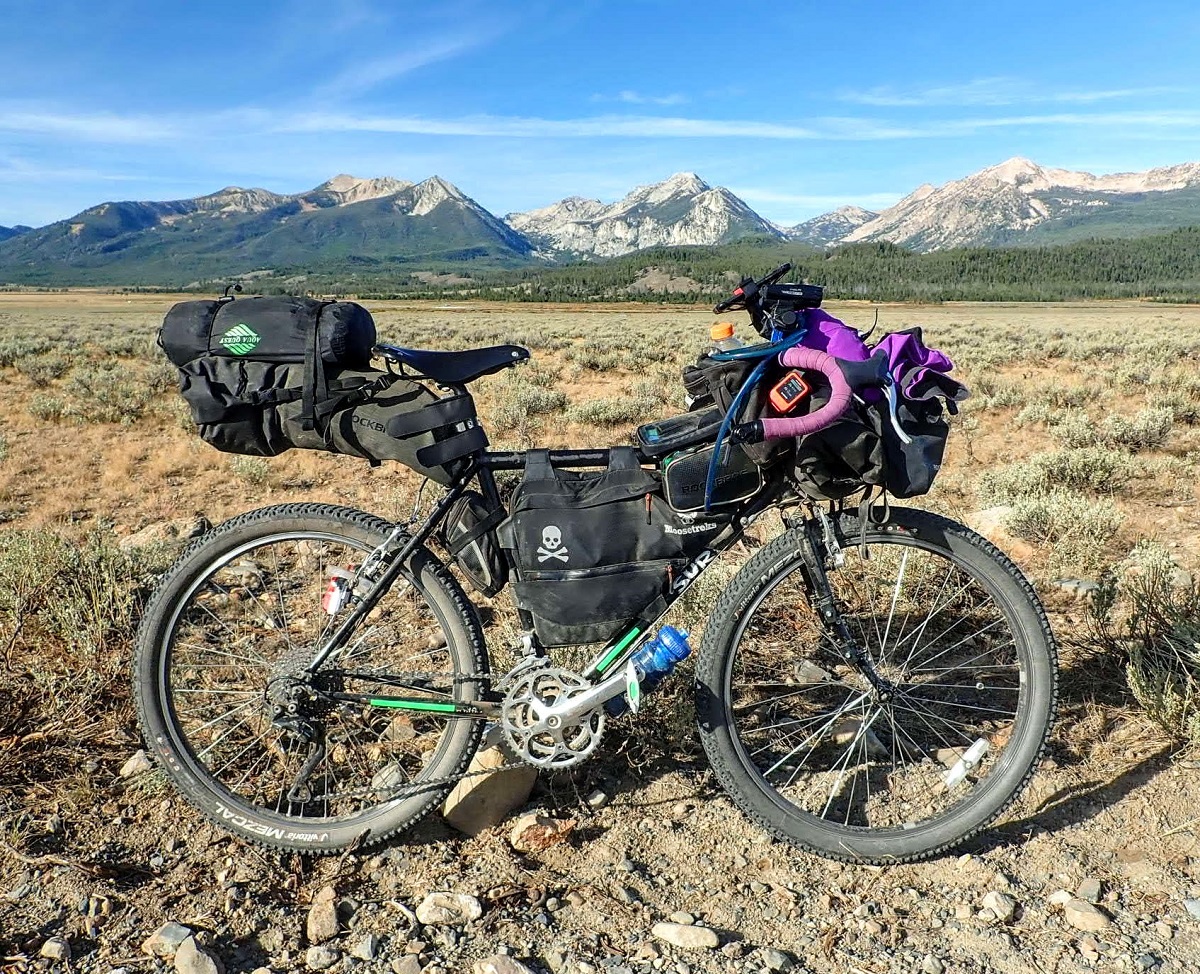
Let’s get this out of the way first so there are no excuses: you CAN ride gravel and dirt on the bike you already have. I’m proof: I logged my first thousand-plus miles of off-pavement riding on my beloved Surly Long Haul Trucker, the most pavement-focused touring bike in Surly’s lineup.
Together my Long Haul Trucker and I explored the rough gravel of Chile’s Carretera Austral, the rocky singletrack of Idaho’s Smoke ‘n’ Fire bikepacking race, and the forest roads of the Oregon Outback route. It wasn’t always pretty, especially the rocky singletrack of Idaho, but it worked.
Sure, a dedicated gravel bike, mountain bike, or bikepacking rig can all be excellent upgrade options once you’re hopelessly hooked and know your favorite style. But to get started, especially on straightforward gravel roads or rail trails, your touring bike or even road bike (with appropriate tire choice) will do just fine.
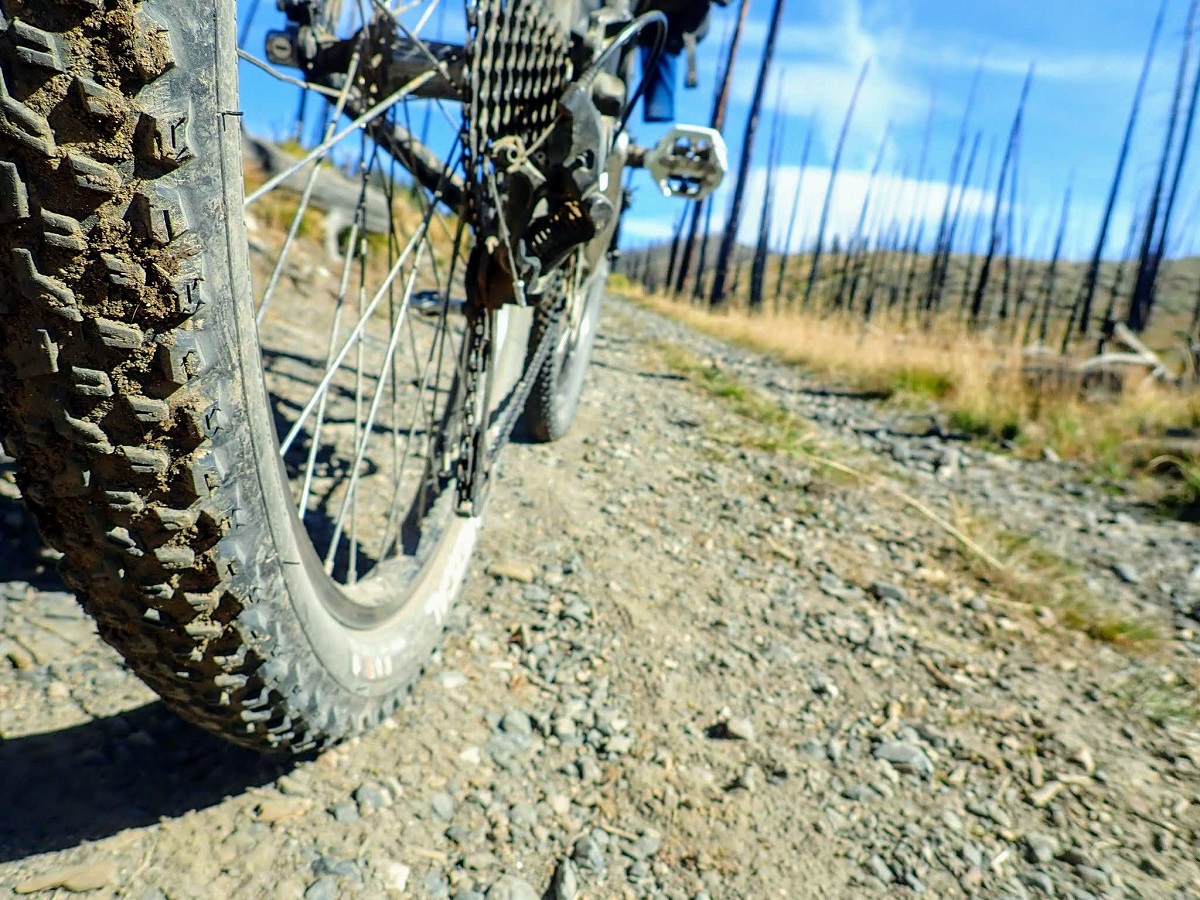
2) Pay attention to where the rubber meets the (unpaved) road.
If you change one thing about your bike to prepare it for off-pavement riding, make it your tires. While nearly any tire (except maybe those tiny little road bike tires) will roll on gravel or dirt, a more specific off-pavement tire will provide a more comfortable ride, fewer flats, and better handling.
For well-maintained gravel roads, classic touring tires like the Marathon Mondial work just fine. They’re durable enough to resist punctures and most riders won’t notice any handling difficulties. You can also look at gravel-specific tires, but be wary of the fast and light ones made for gravel racing as they aren’t always durable enough for long tours.
If spending more time on rougher gravel or uneven dirt roads and trails, you’ll notice improved handling (less sideways slippage, better traction on steep hills) with a mountain bike tire. These usually have knobs on the sides to help with cornering and are especially helpful in loose dirt. The ideas listed here are a good starting point for durable, bikepacking-capable tires.
For less of that teeth-rattling, brain-scrambling sensation on rough surfaces, use wider tires than you would on pavement. The extra volume helps absorb the bumps. In addition, try a trick well known to mountain bikers: let a little air out of your tires on the bumpy stuff and pump them back up for cruising when it’s smooth.
If you’re really headed off the beaten track, especially in desert areas known for prickly foliage, consider tubeless tires. You could wait to learn the hard way like I did — 12 thorn punctures in one day! — but I recommend you learn from my mistake. The setup isn’t as hard as you might think, and the first time you experience your tire sealant working its magic you’ll be a convert for life.
Not all rims and tires are designed to be run tubeless, and if yours aren’t you might want to skip this for now. As a next-best choice in prickly areas, use tire liners and get tubes with removable valve cores (Stans makes some) and squirt a couple ounces of tire sealant inside each tube.
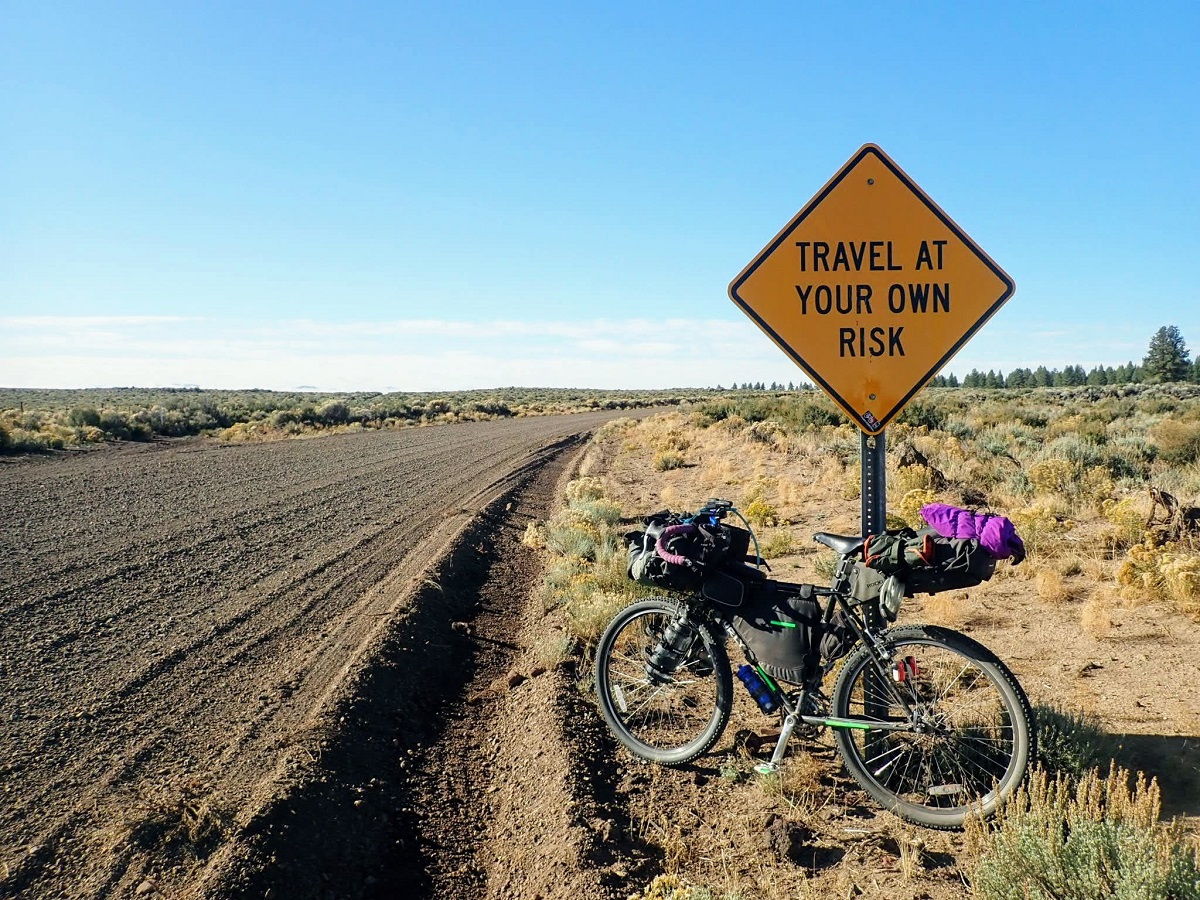
3) Embrace self-reliance.
The great thing about bikes is that they can carry us far from civilization much faster than walking. The challenging thing about bikes is the same.
Most of us don’t fully realize this until we have an “oh shoot” moment, but with more colorful language. This is that moment when, 30 miles from the last sign of human presence, your rear derailer is suddenly tangled in your spokes, or you’re about to run out of tube patches in a minefield of thorns.
Kind strangers are a definitive feature of bicycle travel, often showing up exactly when needed as if sent by the bicycle gods. But when riding rarely traveled backroads or vehicle-free trails, you can’t always count on your thumb and the kindness of passing drivers. This is where knowing basic bike repair becomes more important. The more problems you can fix yourself, the higher your chance of a smooth ride and the more confident you can feel taking on committing, remote routes.
Don’t worry if you’re not a top-notch bike mechanic though, because you should always have a backup plan anyway. Here’s how:
- Cache offline maps. Google Maps, Maps.me, Gaia GPS, and RideWithGPS are all good options; choose at least two. Never rely only on a single electronic device for navigation; they can and will break at exactly the wrong moment. You don’t need a dedicated GPS unit, but if using your smartphone make sure you can keep it charged and dry. Old-fashioned paper maps aren’t a bad idea either.
- Carry enough food, and especially water, to safely reach civilization from the most remote part of your route, even at walking speed.
- Be flexible and know your possible bailout options, even if that means changing your planned route (good thing you have offline maps to help with this).
- Consider carrying a satellite beacon, like the SPOT or Garmin InReach, for those truly worst-case scenarios. Don’t expect to have cell service in remote areas of the U.S.
- Say this out loud as you’re planning your route and selecting your gear: “If I get myself in, I will be prepared to get myself out.”
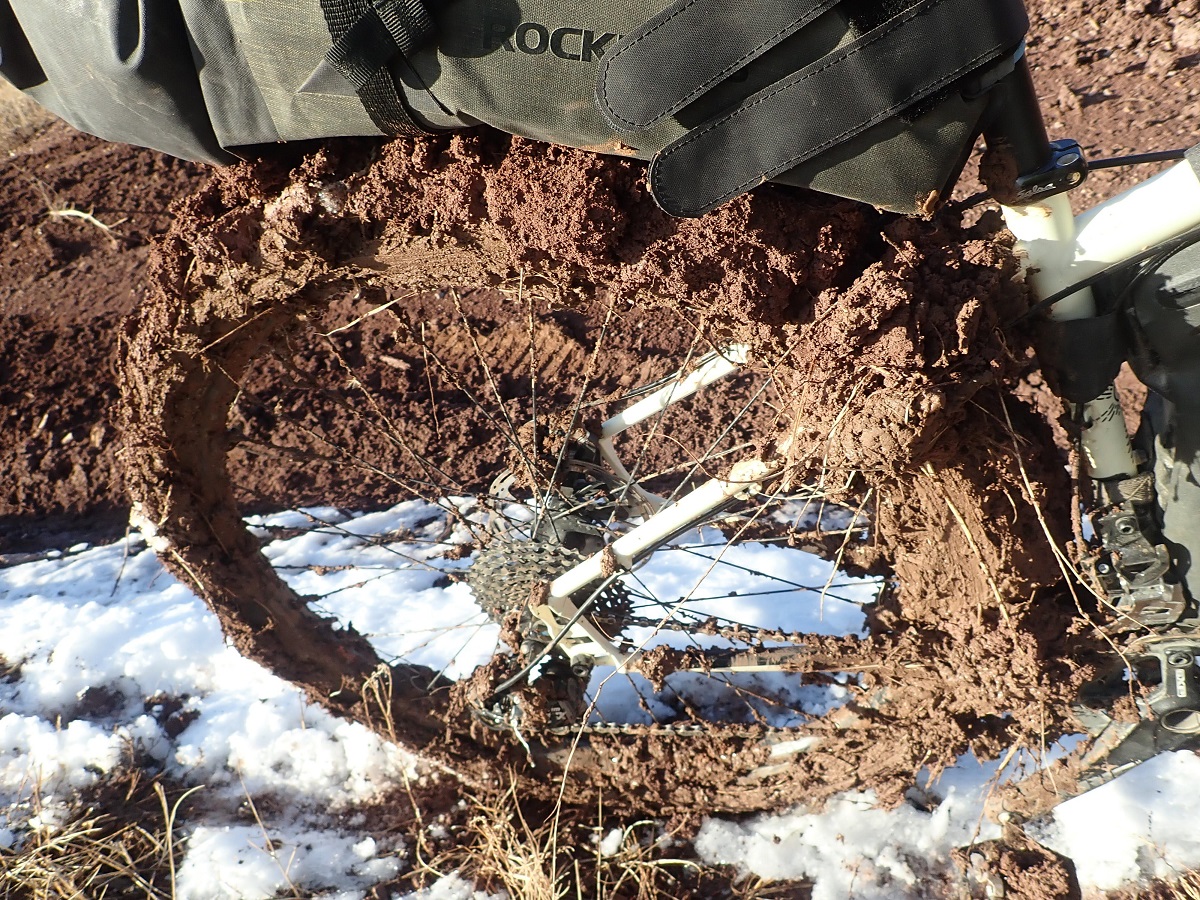
4) Plan for unpredictable terrain and speed.
When I tour on pavement, I look mainly at one factor to plan my day: uphill versus downhill. In areas like Patagonia or Nebraska, wind is a secondary factor.
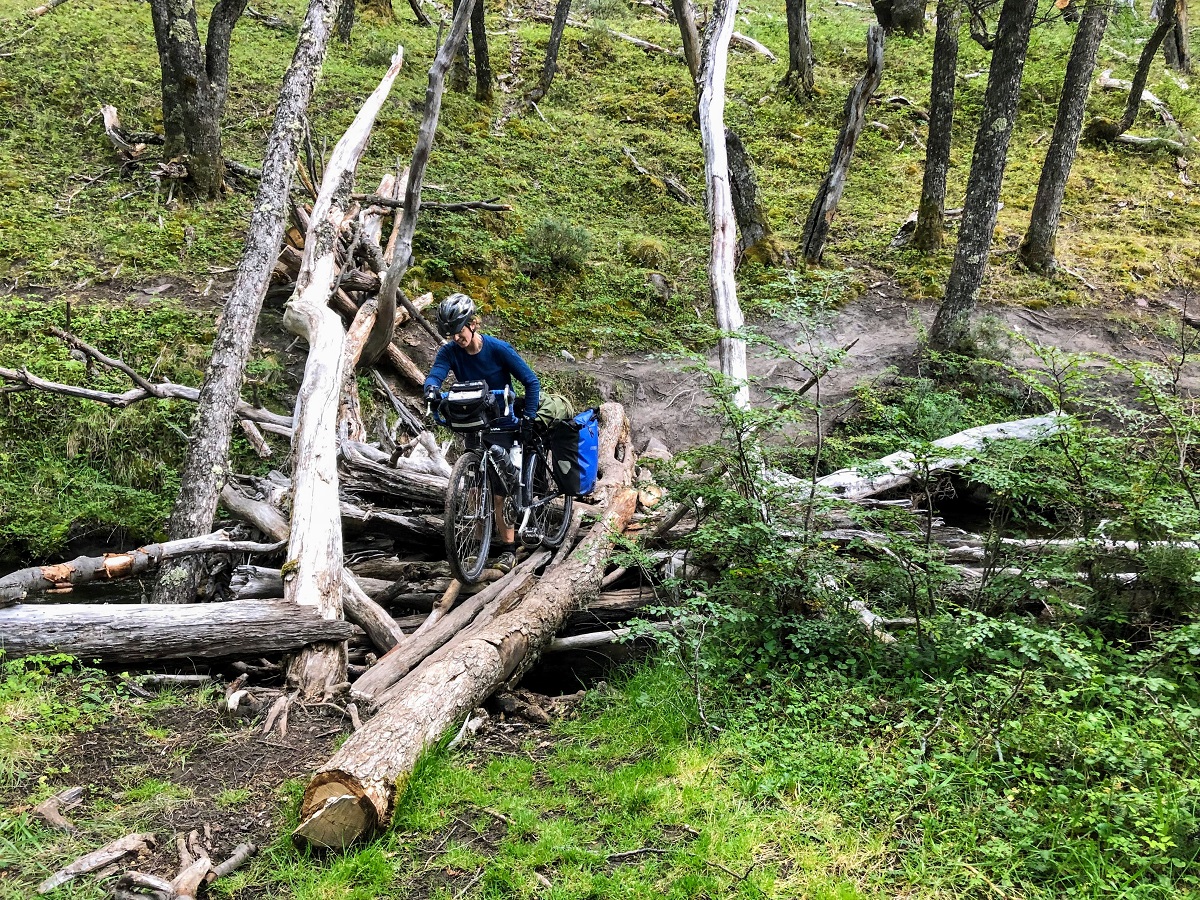
On off-pavement routes, there’s a whole new list of factors that can potentially reduce you to walking speed: unrideable rocky trail, badly washboarded gravel, sticky mud, lingering snow, deep sand, or tricky stream crossings, among other fun surprises. You might plan a 70-mile day based on the elevation profile alone but find that challenging surfaces leave you struggling to make 30 miles before sunset.
Always try to understand the terrain on your planned route in advance. Some routes are smooth gravel tours, others are full-on technical mountain bike trails, and many are somewhere in between. And even if you know what kind of roads and trails to expect, the weather can turn the smoothest unpaved roads into challenging slogs.
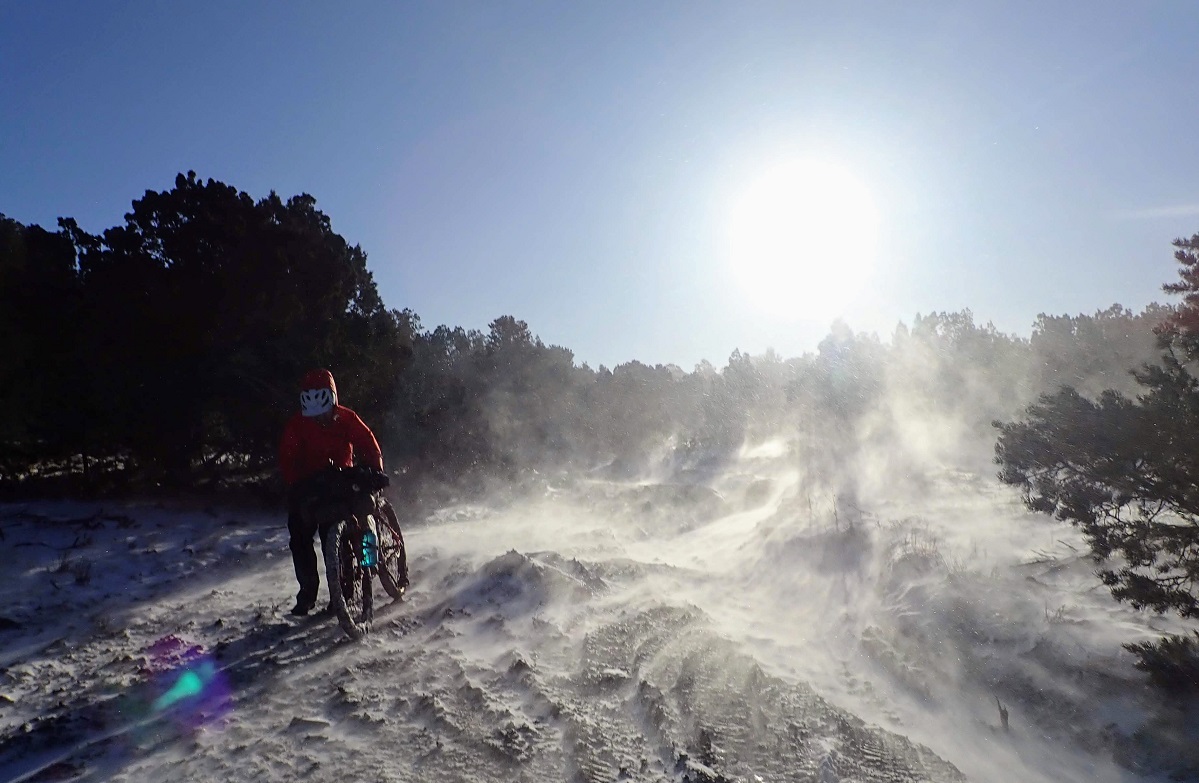
5) Prepare to face difficult weather.
I’ve ducked into my share of coffee shops, restaurants, and random nice people’s living rooms to wait out storms while bicycle touring. But in remote areas, it’s easy to find yourself facing down gnarly weather with no shelter in sight. In this case, your comfort and safety depend on your gear and preparation.
- Know the weather forecast. Pack so you’ll be safe and at least reasonably comfortable in the most extreme cold or heat that could be expected.
- Bring reliable high-quality rain gear if there’s any chance of rain, especially in cooler climates where getting soaked could be dangerous.
- Carry a reliable shelter adequate for the conditions (tent, tarp, waterproof bivy, etc.) and know how to use it effectively, even in high wind or heavy rain.
- Consider luxuries like waterproof gloves and shoe covers. Toasty fingers and toes can really make a difference in morale if you’re stuck out in bad weather with no escape.
6) Pack more precisely.
There’s a reason many people switch from panniers to bikepacking-style bags when they start riding off-pavement. Wide loads can be unwieldy on narrow trails, and bumpy surfaces will eventually cause wear and tear on the rigid attachment points of racks and panniers.
More importantly though, the geometric puzzle of stuffing gear into awkwardly shaped bikepacking bags forces a more minimalist packing list. When riding farther from civilization, you’ll need more space for food and water, shelter and warm layers, and spare parts and tools. Yet you’ll also want your bike to be as light as possible for navigating steep, slippery, or otherwise tricky terrain.
The only way to solve this puzzle is to leave behind everything nonessential. Here are some things I used to throw in my panniers that I no longer bring on bikepacking trips: mini camp towel (air dry or use a spare layer), spare set of clothes (bring a single set of stink-proof merino wool), and camp shoes (do without).
Bikepacking bags can be prohibitively expensive if you’re just trying to get a feel for the style, so I definitely recommend starting out with your current set of panniers, a backpack, or whatever you already have. If using panniers, try to use only the rear two and avoid filling every last bit of space. To get a sense for the bikepacking-bag style without spending a ton, try these budget bikepacking gear ideas.
7) Rethink food and water planning.
Eating is unquestionably one of the great joys of bicycle travel. But when the time between even the smallest convenience stores or roadside diners stretches to a couple of days or more, a bikepacker’s food strategy requires careful planning.
Even fairly remote dirt routes in the U.S. will have a small town every day or two (though note that shops in these micro-towns have a disappointing habit of closing by late afternoon). It’s easy to ride this type of route without a stove or fuel, subsisting on a diet of bars and pastries for breakfast, sandwiches or processed cheese and beef jerky for lunch, and the occasional cold can of ravioli for dinner if you can’t keep a microwave burrito fresh in your bag for long enough.
For the most remote trips where several days of food are needed, many bikepackers carry dehydrated backpacking meals and a small stove. This food strategy has more in common with lightweight hiking and backpacking than with cycling, and most of the same cooking and packing techniques apply.
Planning a water resupply strategy is even more important than planning food. Especially in hot climates, messing up your water supply can have dangerous consequences. Instead of just filling up at gas stations and restaurants, carry a water filter or chlorine dioxide drops so you can fill up from streams or other natural sources along the way. Spend some time understanding how easy or hard it is to find water on your route, and plan accordingly.
Some routes require capacity for four to six liters or even more, in which case you’ll need a combination of hydration bladders, bottles on your frame, and maybe even a backpack. Always consider what would happen in case of a ride-ending mechanical issue; carry enough water to get yourself to the next source even if forced to walk.
8) Secure your load.
From dreaded washboard gravel to rocky dirt trails, venturing off-pavement is bumpy business. Things you thought were securely fastened will eventually rattle, jostle, and vibrate their way loose. For your safety and sanity, take these precautions:
Blue Loctite: buy a small tube and don’t leave home without it. This “threadlocker” is a blue liquid that you dab on your bolts (especially rack and bottle cage mounts) before screwing them in so that they don’t rattle loose.
Zip ties, duct tape, and creativity: If your rack breaks, or your pannier attachment snaps, or the buckle on your seatbag comes loose, you’ll need these.
If you strap things to the outside of your bags (jacket, solar panel, the socks you just washed in the river), always tether them securely with some kind of backup. Slip the buckle through the drawstring on your stuff sack, or tie the arms of your jacket around the shock cord. Otherwise, they might not be there next time you reach for them.
Beware of straps and buckles that can come loose and catch in your wheels. Nothing kills the mood like the instantaneous locking of your front wheel on a speedy downhill. If in doubt, back up suspect buckles with rubber bands or zip ties.
Get Started
Embrace off-pavement riding and a whole new world will open up to you. It’s a world of wide-open spaces, natural beauty, and peaceful solitude. It’s quiet, starry nights, traffic-free riding, and epic photo opportunities. It’s not showering for a week, and then a refreshing dip in a cool lake on a hot day. It’s a world of new challenges to meet and new skills to learn.

To start your off-pavement route search, check out the increasing collection of off-pavement routes by Adventure Cycling and the extensive route list at bikepacking.com. If you’re hesitant or short on time, pick a quick off-pavement bike overnight and work up from there if you enjoy it. This bikepacking overview will help you cover the bases of logistics and planning.
Next time you feel like a change of pace, try pointing your wheels toward the horizon on some dirt or gravel. If you’re anything like me, it might be the beginning of your new favorite riding obsession.