The Basics of Gravel Riding
What is gravel riding, and why is it so seductive? The bike industry loves using images of svelte cyclists plastered in mud in the middle of the woods. How did they get all the way out there, and how can I be that cool?
First, cool is relative.
Second, you can definitely be that person plastered in mud in the middle of woods!
When I think of gravel riding, I think of being in a remote place surrounded by trees or mountains. However, gravel riding simply means riding on any manner of unpaved surfaces; even if it’s a completely flat, well-traveled dirt road, it’s still gravel riding! The joy of riding on unpaved surfaces is that they’re usually car-free or in low traffic and naturally scenic areas. So, if that’s your goal, keep reading.
“Gravel Bikes”
Will a gravel-specific bike make your experience riding gravel better? Maybe. Should that be the limiting factor in attempting gravel riding? No.

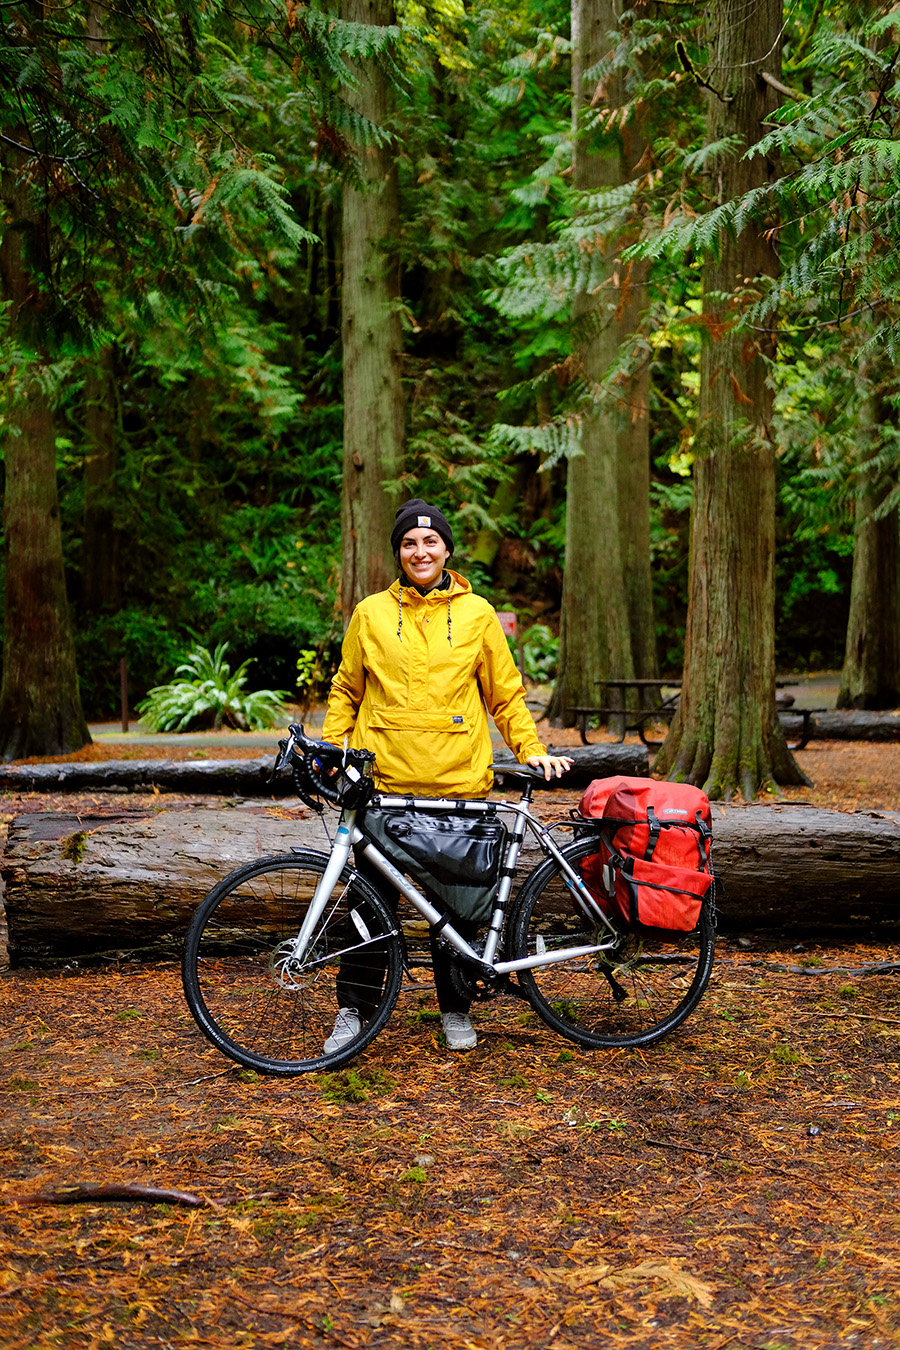
I have spent years riding a big ol’ steel touring bike for everything — grocery runs, multi-day tours, and gravel grinding. I would have a whole fleet of bikes if I could, but it’s just not financially feasible. From my perspective most bikes marketed as gravel bikes are road bikes or hybrid bikes that can accommodate wider tires. Based on your cycling goals, you may not have to invest in a whole new bike. A wider set of tires may be all you need to get started.
Tires
I loathe bike elitism, and I don’t like prescribing that this type of cycling needs that type of bike/tire/bag/training, etc. However, I will concede that wide and/or gravel-specific tires are helpful for navigating unpaved terrain. Nearly any bike can be a gravel bike if it has gravel tires. I would recommend tires with a minimum width of 35mm but work with the bike you have.
There are a lot of options when it comes to gravel tires, and it can be overwhelming. Let the shop know that you want a tire that can handle local trails or dirt roads (or whatever you intend to ride). Take the bike to the shop so they can help you find a tire that fits the bike frame and your cycling goals.
I look for three attributes in a gravel tire:
- Is as wide as possible given constraints of the frame.
- Has a tread appropriate for the terrain.
- Is affordable.
Finding A Route
There are several different digital and analog methods for finding off-road places to ride. The first place to start would be local cycling clubs and bike shops. Attend social rides and get to know your cycling community! There are likely people who know local gravel routes and can point you in the right direction. The same goes for bike shops — be nice and tip the mechanics! If you are shy, don’t have a local bike community, or simply need other resources, start with the following suggestions.
Adventure Cycling has a curated network of Short Routes that you can peruse by region, some of which are gravel specific. The routes are free to download for offline use. Because they’re verified by Adventure Cycling, you can count on these to be accurate and high quality; you won’t find yourself stuck at a gated road with a sign reading “private property.”
Ride with GPS is an awesome online library of user-generated routes. It allows for keyword, distance, and elevation filters so I usually search “gravel” until I find something I like. Routes can be copied and edited as well. When downloaded, the route data will be accessible offline, so you won’t get lost when you’re outside of cell service. Ride with GPS is free for basic features but requires a paid subscription to access features like turn-by-turn directions. However, routes can be exported in several formats and uploaded to different apps or devices like Open Street Map or Google Maps for offline use at no cost.
GAIA GPS offers free and paid subscriptions for their offline navigation. Their library includes U.S. Forest Service roads, mountain biking trails, and off-road vehicle roads. I have not tried this service, but it seems to offer a lot of features at a competitive price.
The Rails to Trails Conservancy has a great tool for finding trails nationwide called TrailLink. Rail trails are unused rail beds that have been converted into bike and pedestrian paths. You can count on these trails being fairly flat or with easy grades.
U.S. Forest Service maps are available at Forest Service offices. I have not personally used these maps to create routes, but I know people who have with great success!
Bikepacking.com is a great resource for route inspiration and gear reviews.
Trail Forks, MTB Project, and Singletracks are all online databases for mountain bike trails. Depending on the terrain and your comfort as a rider, some mountain bike trails are navigable with a gravel bike.
Be mindful that some trails, roads, and recreation areas may require permits or written permission. In the Pacific Northwest, many forest areas are used for industrial agriculture (lumber/timber) and may be occupied by heavy machinery including trucks and their associated work crews.
Before The Ride
Make a Plan
If you are going into a remote area without cell service, have a safety plan that includes:
- Tell someone who is not going on the ride where you are going, when you are leaving, and when you will be back — even if you are going with a group
- Know how you will access water if you run out
- Pack repair and first aid equipment
As with any bike ride, do a safety check before heading out. Remember your ABCs!
Air pressure: When riding gravel, it is sometimes helpful to deflate your tires just a little bit. When tires are less rigid, they gain more traction on rough terrain. Riding with fully inflated tires can feel bouncy. The range of air pressure your tires need should be written on the side of the tire. Choose the low end of that range for a cushier ride.
Brakes: Make sure your brake pads have enough life in them; it’s unsafe to ride without the ability to stop!
Chain maintenance: Give your chain some love before and after a dusty or muddy ride. The dirt and grit that can collect on the chain gets circulated through the whole drivetrain and can degrade the components. Keeping your chain clean and lubed will prolong the life of the chain and make the ride more efficient!
Hydration
Depending on the route, there may be reduced or no access to potable water in remote areas. Know how to access more than enough water for your ride either by carrying it or bringing a water treatment or filtration device and knowing where you will be able to find water along your route. I carry a hydration bladder in a frame bag and wrap the tube up and over my handlebars so I can drink as I’m riding.
Hydrating properly also means replenishing the electrolytes lost to sweat. Consider carrying electrolyte tablets or powder on strenuous rides or hot days.
Snacks!
Consider that you may need 200 calories or more per hour of riding — riding gravel can be a lot more strenuous than road riding. Snacks are important for fueling your muscles but also for building community! You are allowed to build in snack stops along your route, even if it means leaving nature for town. Choose beautiful spots to eat your food and take the time to connect with your riding partners.
The Ride
Time Management
Time management on gravel rides is something I had to learn the hard way. I can reasonably estimate my riding time on paved surfaces, but gravel riding is usually slower and requires more breaks. I live in the Pacific Northwest and like to ride gravel through the fall and winter when daylight is limited. I would recommend starting with shorter rides so you can understand your gravel pace. Then build up to all-day gravel-paloozas so you don’t get stuck in the middle of the woods for hours after the sun goes down — and yes, I am speaking from experience.
Ascents
Shift down before the hill for a smoother transition.
Shift weight as forward as possible by engaging your core and shifting more weight to the nose of the saddle, on rough surfaces this gives your front wheel more traction and stability.
If you decide to stand up, shift your weight forward to stabilize the front wheel.
Keep your shoulders and arms relaxed and keep breathing.
You’re allowed to stop and take breaks! Angle your bike about 45 degrees perpendicular to the slope to make getting back on a little easier.
Descents
Shift your weight back, and on rough sections hover over the bike seat rather than sitting down to stabilize the back wheel and absorb bumps better.
Pump your brakes at the same time to prevent upper body fatigue and to avoid skidding out.
It may seem counterintuitive, but when riding through something wet and rough, controlled momentum is your friend. Try to glide through wet or rough spots with momentum and steer as little as possible.
Keep your shoulders and arms relaxed. Your arms are like front shock absorbers. You’ll feel much more in control if your arms are bent and loose rather than stretched out and stiff.
Keep breathing!
You’re allowed to stop and take breaks! Descents can be more exhausting than ascents because of vibration.
Lastly, be safe, be mindful of the environment, and have fun!