Hauling it All: How To Make Your Own Panniers
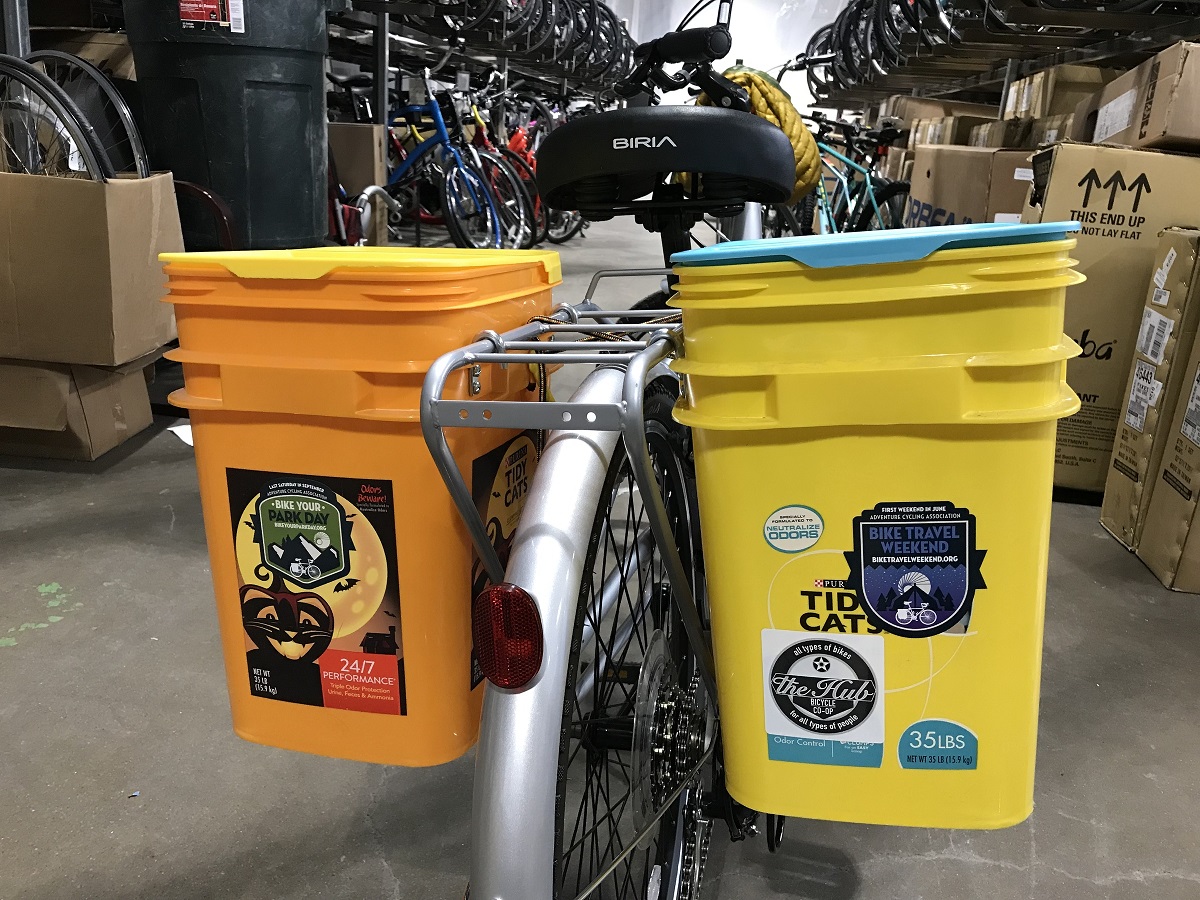
Ready to make your own panniers? Enter the fully waterproof, highly durable bucket panniers made from recycled kitty-litter buckets.
Panniers can come at a high price. If you’re grappling with cost or enjoy the independence and satisfaction that comes from making things yourself, then this tutorial is for you. From carrying groceries to touring long distances, these low-budget, DIY panniers are fully functional. Additionally, they can serve as a great way to test and evaluate your situation before investing in a commercial pair.
To determine how to set up your bike for proper weight distribution, think about what your primary intended use will be and use this resource to figure out Where to Carry A Load (PDF file).

What you will need
Materials for one pannier:
- One kitty-litter bucket (recommend Purina Tidy Cats 35 lb. pail with attached lids)
- Two two-inch tarp hooks
- Hardware
- Four 10-32 x ½” bolts
- Four 10-32 nylon-insert lock nuts
- Four #10 flat washers
- One heavy-duty nylon bungee with sliding hooks (approximately 1/2 inch thick)
- Reflective tape and/or decorative stickers (optional)
Tools:
- Electrical drill
- 1/4-inch and 3/8-inch drill bits
- Dremel tool or side-cutting pliers
- Screwdriver
- Socket wrench
- Permanent marker
Note: Check to see if there are tool-lending libraries in your area if you need access to tools.
Instructions
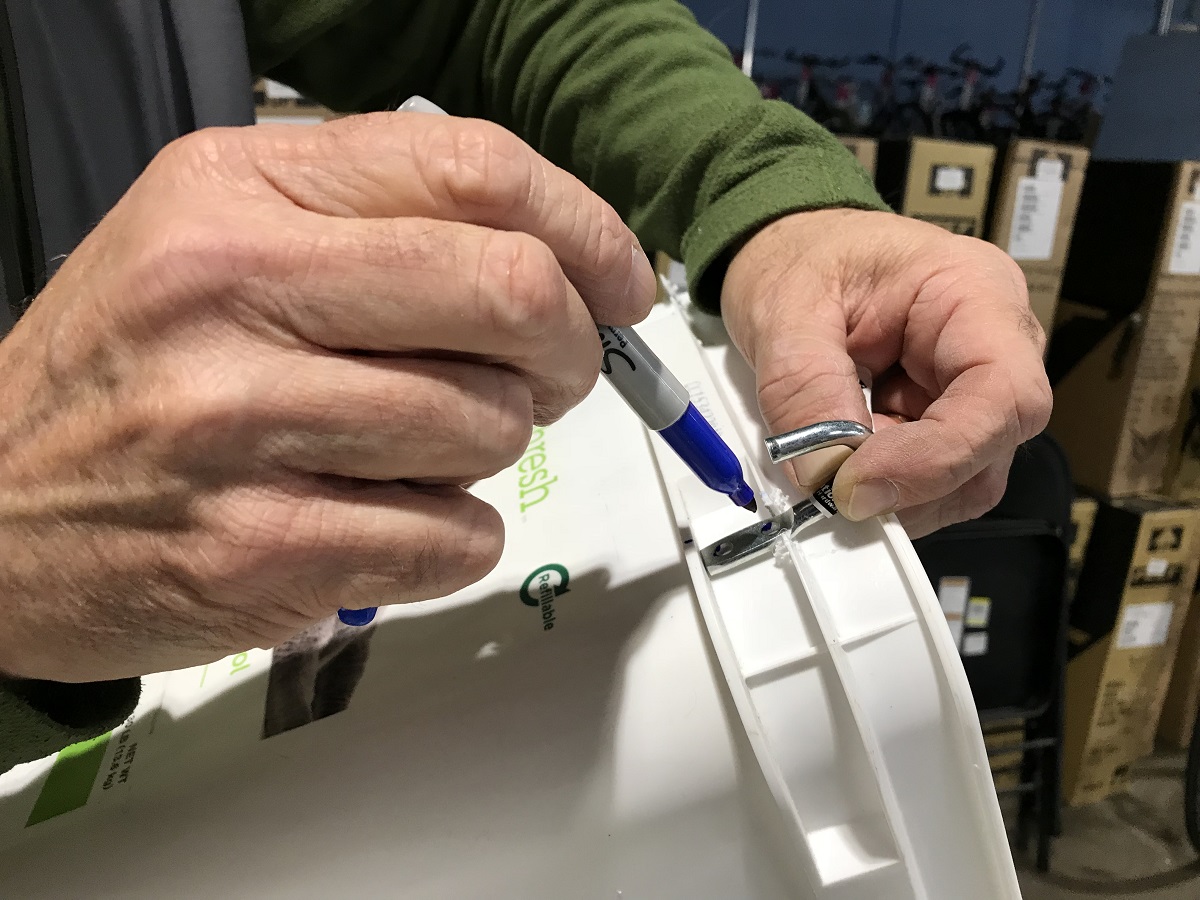
1. Hold the candy-cane-shaped tarp hooks near the top edge of the bucket and use a permanent marker to outline the hook width.

2. Use a Dremel tool or side-cutting pliers to remove the small plastic square cut-outs. The hooks will attach here and sit flush against the bucket.
3. Place your tarp hooks, candy-cane side up, in these slots and use a permanent marker to locate where the holes are to be drilled. Set the hooks aside.
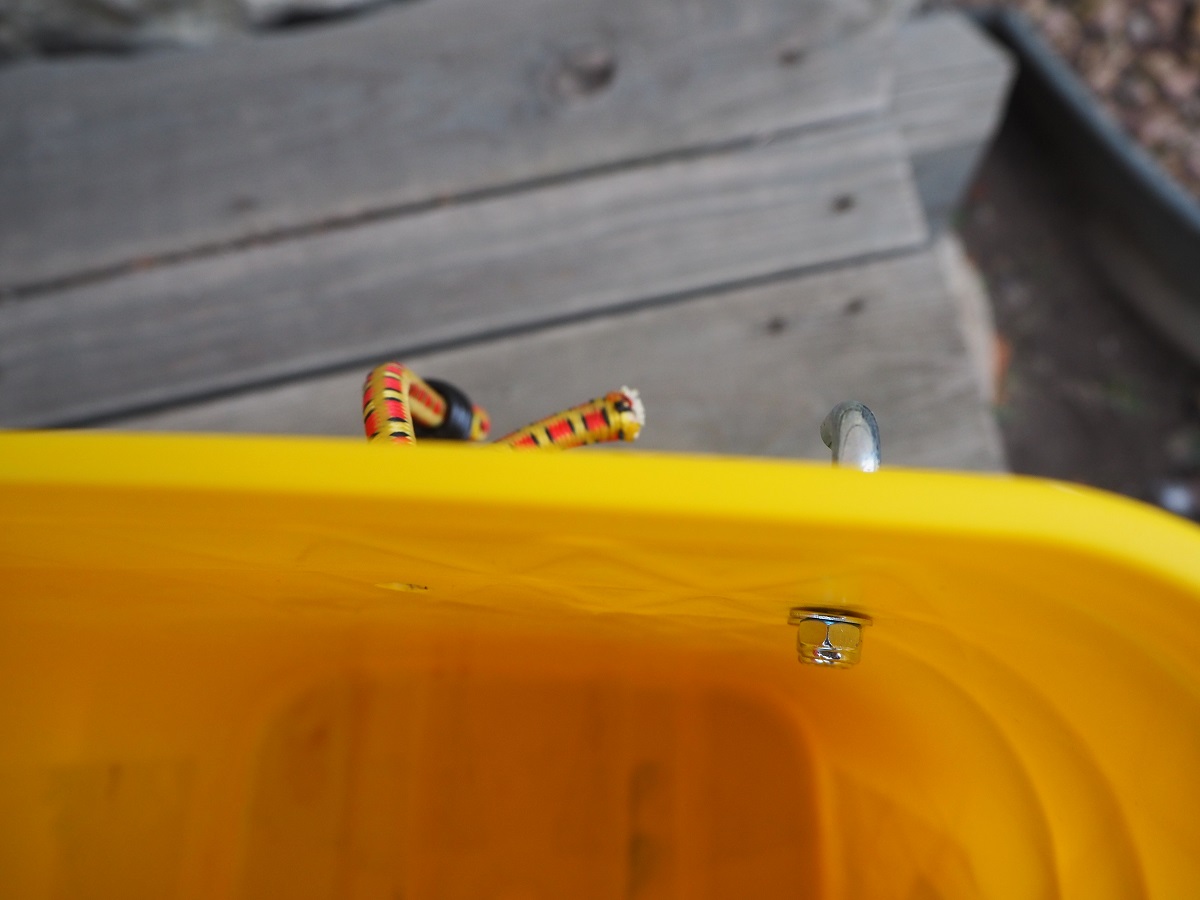
4. Use a 1/4-inch bit to drill all four holes in the bucket. Use a screwdriver and socket wrench to fasten them to the outside of your bucket using the screws, nuts, and washers. The washer goes on the inside of the bucket before the nut gets screwed on.
5. Using a 3/8-inch bit, drill a hole in the top middle of your bucket to be used later for your bungee.

6. Take your bungee and cut the cord close to the hook at one end to remove it. Stick the cord side through the hole you just drilled. Knot the end of the cord that you put through. Then pull snug so the knot tucks under the lip of the bucket.
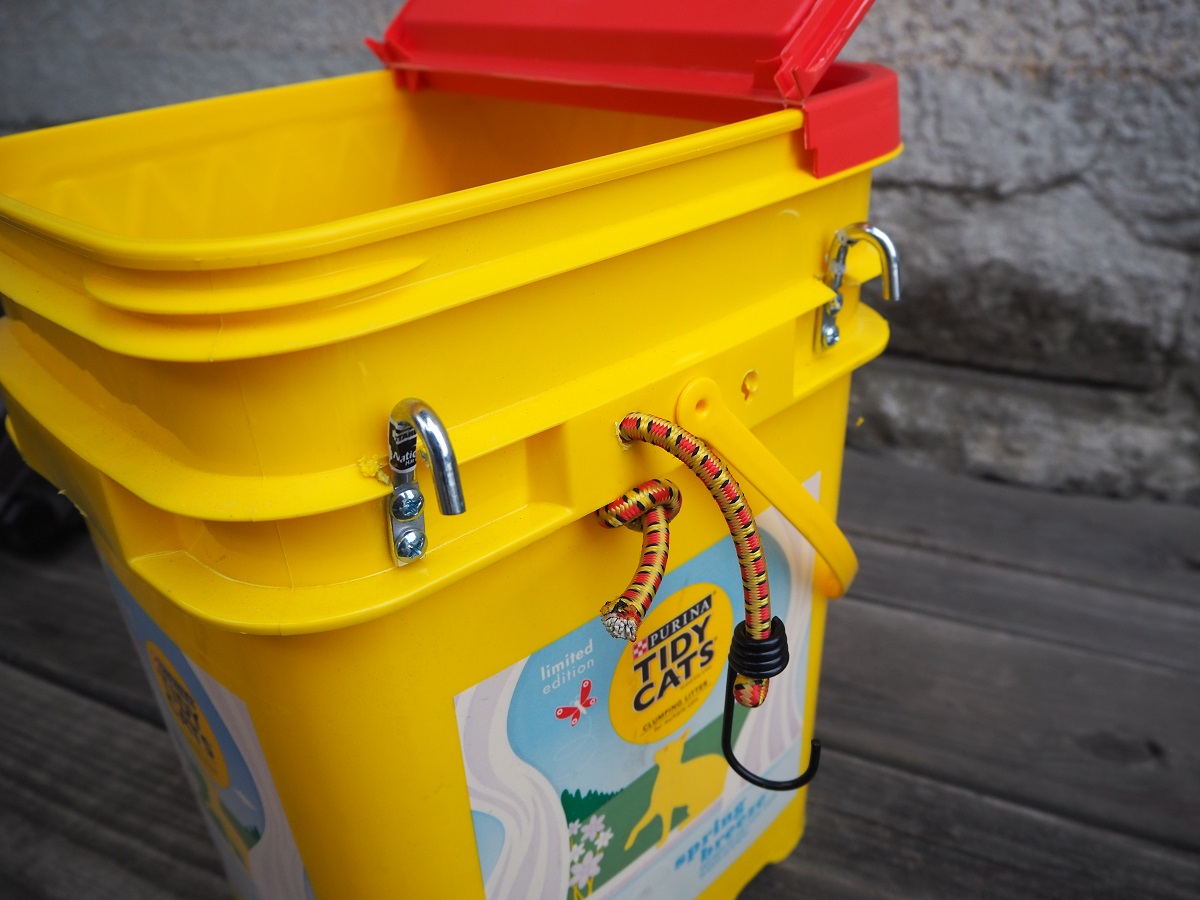
7. Attach the hook end of bungee to the bottom attachment on the rear rack of the bike. Adjust the length of the bungee to be fairly taut when pulling hooks over the top of your rear bike rack.
8. Strip off the advertising and personalize with your new panniers with stickers and reflective tape.
Happy travels!
This story has been updated and was originally published on December 29, 2017.