Geared Up: 2021 Holiday Gear Guide
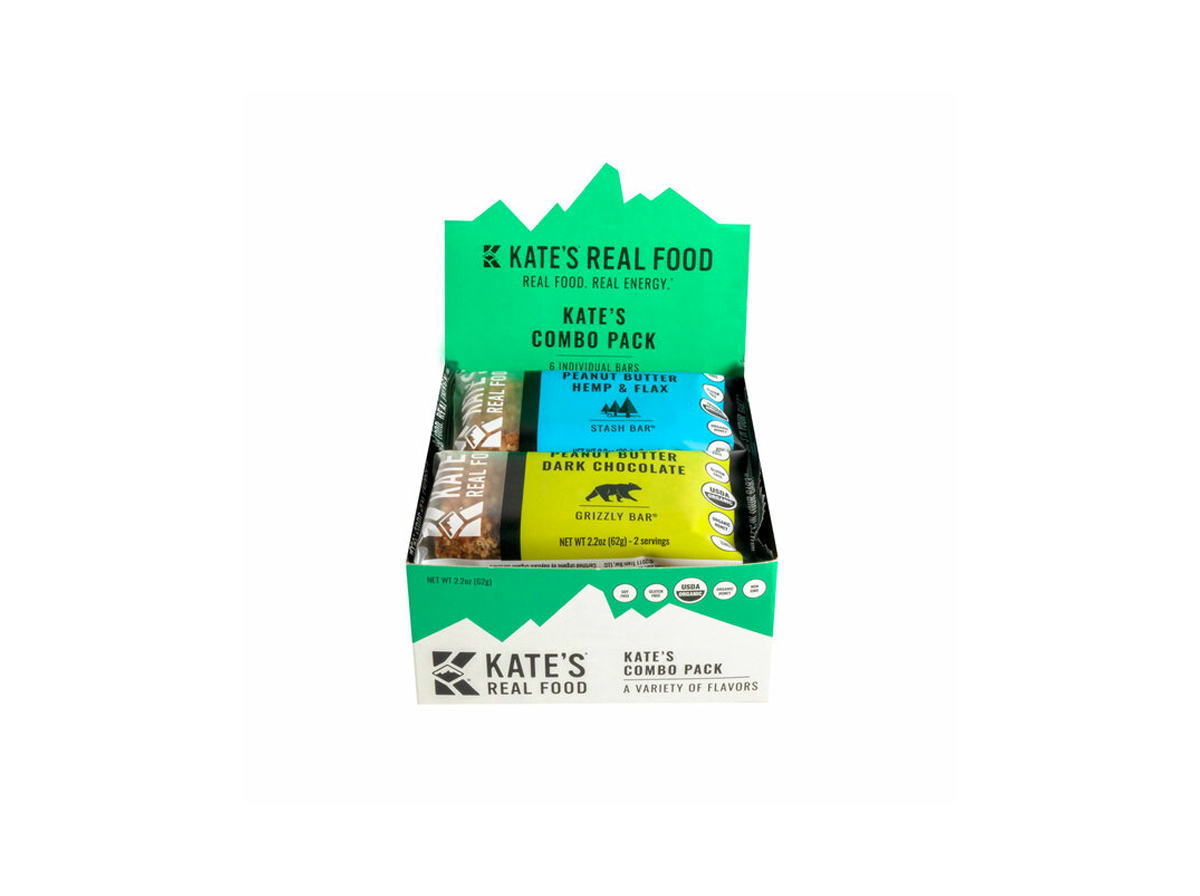
Kate’s Real Food Combo 6-Pack, $15
I have a hard time making small-stakes decisions. Moving across the country? Easy. Picking a ride snack? Please don’t make me do it. Kate’s Combo Pack let me grab whatever bar was on top without overthinking it, knowing whatever flavor it was would be delicious and free of egg and dairy (besides “Tram” Peanut Butter Milk Chocolate). They all have honey so they aren’t classified as vegan or plant-based, but they are made of mainly organic, whole food ingredients. While I expected to love the “Grizzly” Peanut Butter Dark Chocolate or “Stash” Peanut Butter Hemp & Flax the most, I found the “Bivy Bar” Lemon Coconut & Ginger to be delightfully refreshing and not overly sweet or fruity. All six flavors were fantastic and they carried in my bag much better than a peanut butter sandwich and banana ever do. Made in Idaho from real ingredients like organic oats, organic honey, organic fruit, and peanut butter (and nothing unidentifiable or artificial), these bars were as easy to digest as they were to keep stashed away in my hip pack, keeping the cramps at bay. In my opinion, these bars are too small for this hungry hungry hippo to eat just half, as suggested in their “serving size,” so if you get hungry on rides like I do, plan accordingly and don’t think you will get two hearty snacks out of one bar. –Carolyne Whelan
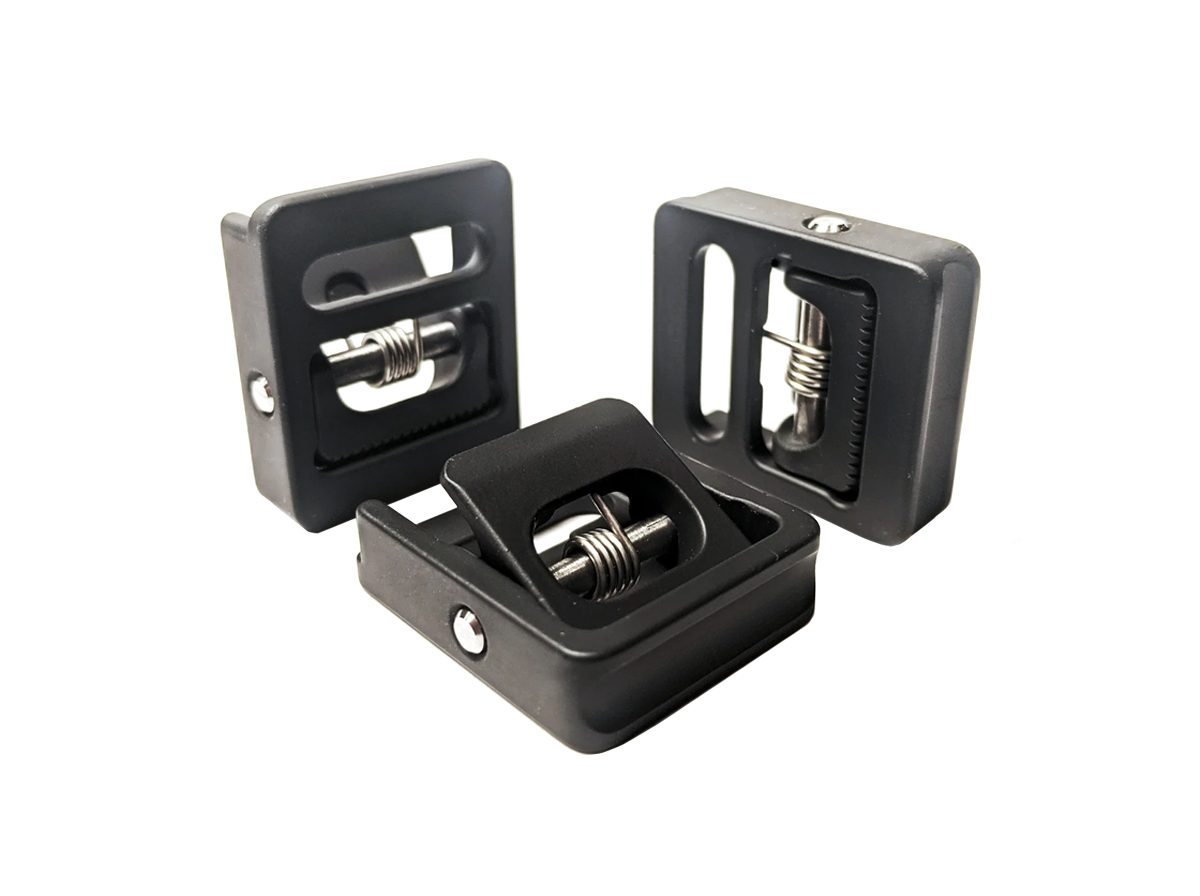
Austere Manufacturing 3/4in. Cam Utility Strap, $22
Having developed space suit components for NASA, Uriel Eisen of Austere Manufacturing has invented an incredible gift for the cycling world: beautiful, lightweight, CNC’d aluminum buckles that I’m hoping will change the industry standard for closures. Plastic buckles used on modern bike bags and straps have gotten better and better (my favorite is the cam buckle that Revelate Designs uses) but there’s always room for improvement (because who hasn’t gotten a little too excited to pack a bike, sending plastic buckle bits flying everywhere?). Austere achieved the next level with their aluminum cam buckle, making it to the top of my favorites list.
Paired with 3/4in. nylon webbing, these buckles can withstand a ton of weight and never slip. Carrying a small bundle of firewood under my handlebars was a cinch. Although the nylon webbing doesn’t have the elasticity and grip of a polyurethane Voile strap once it’s tightened, I’ve found ways to wrap these utility straps around my bike frame to keep things in place. I think the perfect application for these is when attaching a drybag to handlebars or to a rear rack. I would also love to see bag makers incorporate these buckles into their products.
These cam buckles might cost a few more bucks than other buckles out there, but you won’t need to buy replacements once you invest in these tiny gems. They utilize a titanium pin for high strength performance, as well as a corrosion-resistant stainless steel spring. And they look so good, dang! They’re currently offered in a variety of color options and three lengths of webbing: 1.5-feet, 3-feet, and 4-feet. My fundamental gear rule of bicycle touring is that one can never bring enough straps, so I’ll be throwing a couple of these in my bags from now on. –Ally Mabry

Sea to Summit Stretch-Loc Straps 4-Pack, $25
When bikepacking, I’ve always used Voile straps — originally made to hold skis together — to secure various items to my bike or bags. Sea to Summit’s Stretch-Loc Straps are even more suited to cycling by adding a keeper strap to the infinitely adjustable, stretchy, TPU pull-to-clip strap. The keeper strap protected my frame and provided a second sticky surface to prevent gear from getting rattled off on a bumpy dirt road. The keeper also tucked away strap tails so the attachment system was clean looking while preventing straps from getting caught. The four-pack comes with straps from 15 to 30 inches. They’re straps that will last years in all kinds of weather and that secure gear as tightly as you’re able to pull them. On a bike, I’ve used them to strap a sleeping bag to my seat rails, to attach my sneakers to my seatbag, and to keep my water bottle on the bike on a rough section of road. I’ve also used them to keep my bike in the bed of a truck and to strap a wheel onto a tray rack when the rack’s strap was no longer doing the job. The straps are also available in two-packs. –Berne Broudy
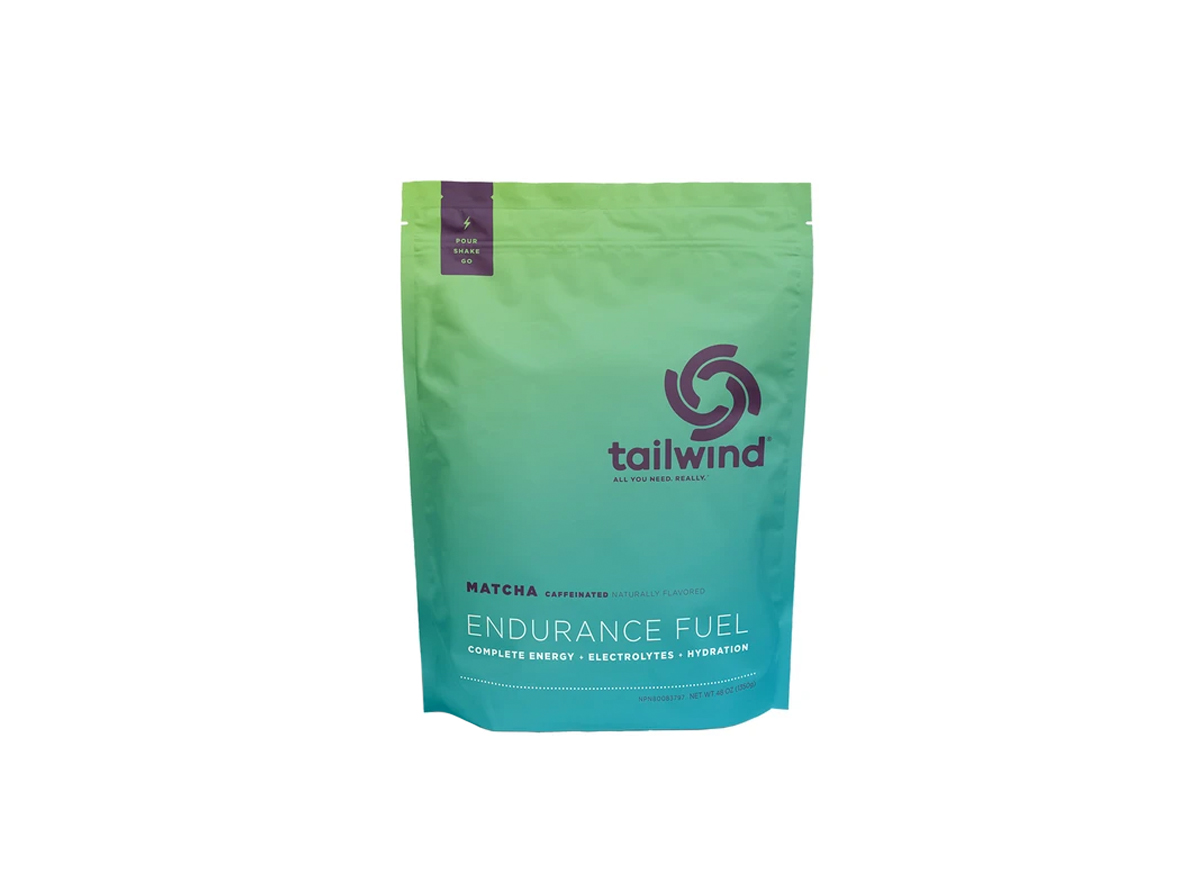
Tailwind Matcha Endurance Fuel, $39 for 50 servings
If you’re looking for a different flavor to amp up your hydration, or something with a bit of a caffeine kick, the new Tailwind Matcha Endurance Fuel kept me going on long rides, hikes, and drives all summer and fall. Filling one water bottle with regular water and another with water mixed with this powder kept me hydrated and balanced through even the hottest rides. During my cross-country move, I kept this powder mixed in my large driving Thermos. Not only did it help mask the taste of gas station tap water, it also gave me that slight pickup without having to keep downing stomach- and sleep-ruining truck stop coffee throughout the day. This isn’t a low-calorie hydration option with 100 calories per 27g serving (25g of which are sugar), but cycling isn’t a low-burning activity and I appreciated the balance of electrolytes, caffeine, glucose, and sucrose to keep me from getting a headache or hitting a bonk wall after a day of sweating. The flavor isn’t exceedingly “matcha” so if you’re looking for a strong green tea taste this won’t hit that mark, but it is tasty and fruity, with a slight salty matcha flavor that balances out the typical candy taste of many hydration drinks. There is a slight aftertaste, though in fairness I’ve yet to find an electrolyte drink that doesn’t have at least some aftertaste. As a Boulder, Colorado company, they’re also semi-local to this Rocky Mountain transplant, but I’m always happy to support an American company making quality products. That it tastes great, doesn’t wreck my stomach, and works is a home run as far as I’m concerned. Also available in 30 servings, single serving, or single serving 12-pack. –CW
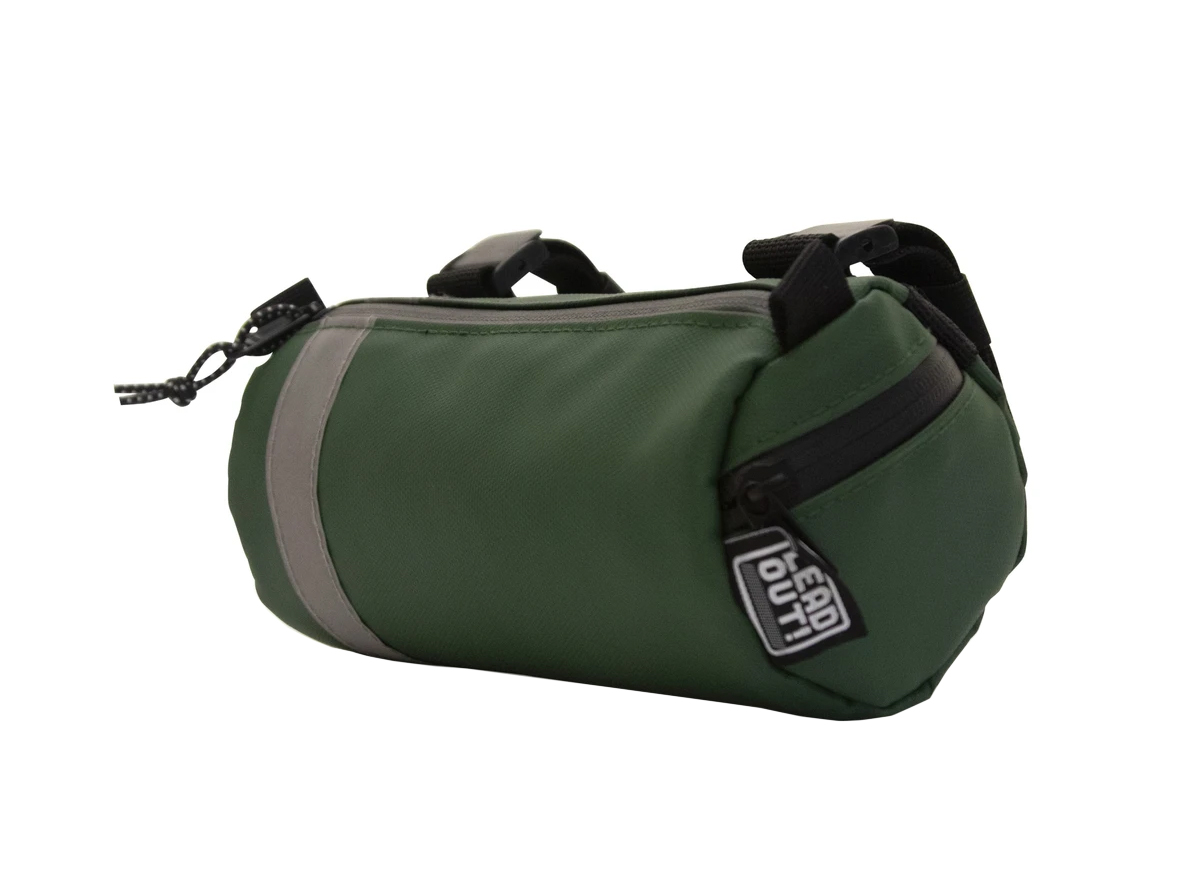
Lead Out! Mini Handlebar Bag, $40
Some rides, I don’t want my bike loaded with bikepacking bags. Sometimes I just want a bag to bring along a few essentials. Lead Out!’s Mini Handlebar Bag is a great option for those days. I use the weather-resistant bag for gravel training rides, tootles around town on a city bike, and even for chill mountain biking. The bag has two straps with quick-release buckles and a stabilizing adjustable bungee that made swapping it between bikes a cinch. The mini has two pockets — a small outside one sized to hold a lip balm or key, and a main inner compartment with a mesh divider. A broad reflective stripe wraps the bag, enhancing visibility. I’m not a rider who frequently packs a beer on a bike ride. But if I was, I’d load this bag. It fits a pint perfectly. The mini comes in six colors, so there’s a “right” bag for every rig. It fits both flat bars and dropbars. –BB
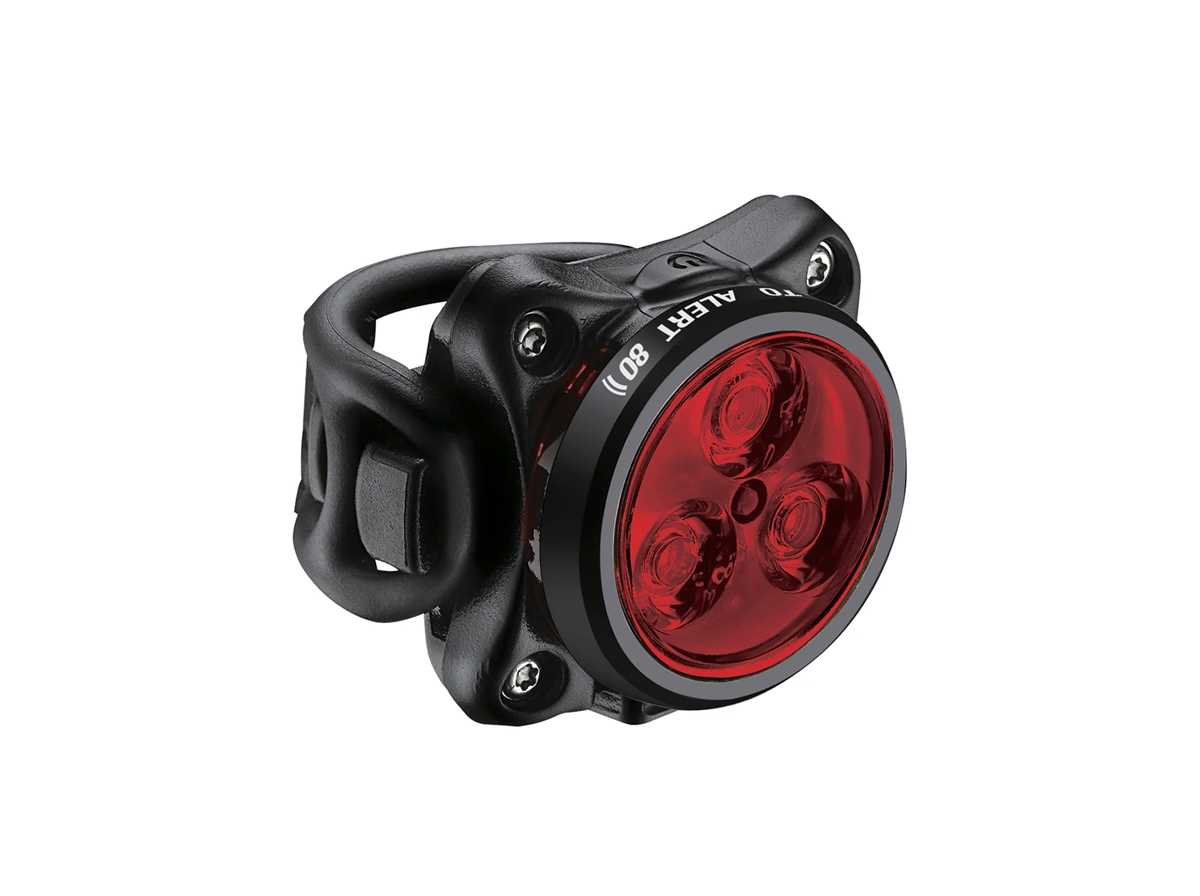
Lezyne Zecto Alert Drive Rear, $45
At some point, every rear bicycle light is the same, right? They flash red, they blink, they’re bright enough that other cyclists and drivers can see them and know you’re there. All of that is certainly true about the Zecto Alert Drive Rear light, except that Lezyne took it a step further and introduced accelerometers that sense when the cyclist slows down and affect the brightness of the light, much like the brake lights of a car. This is not the first time this technology has been used in rear bicycle lights, but Lezyne’s new “Alert” technology line is perhaps the most affordable collection of lights of their kind.
With five modes and a max output of 80 lumens, Lezyne claims the runtime of this light is between 4.5 and 15.5 hours depending on the setting. I can’t say I timed it exactly, but I’ll corroborate that ballpark estimate. Across all five modes, “Alert” technology senses a decrease in speed and, in response, increases light output. Once the rider is stopped, the light will flash until the rider starts moving again. This combines the settings of a traditional rear light into an application that actually makes a lot of sense — I often feel like rear lights have so many different flash functions to choose from that it’s just over the top and unnecessary. Choosing one of these settings isn’t usually informed by anything logical for me: do I want fast blinkies or slow blinkies today? With the Zecto Alert Drive Rear light, I know I’m not blinding other cyclists or pedestrians with bright flashes as I bike by on the bike path, but that when I come to a stop I’ve got their attention. –AM
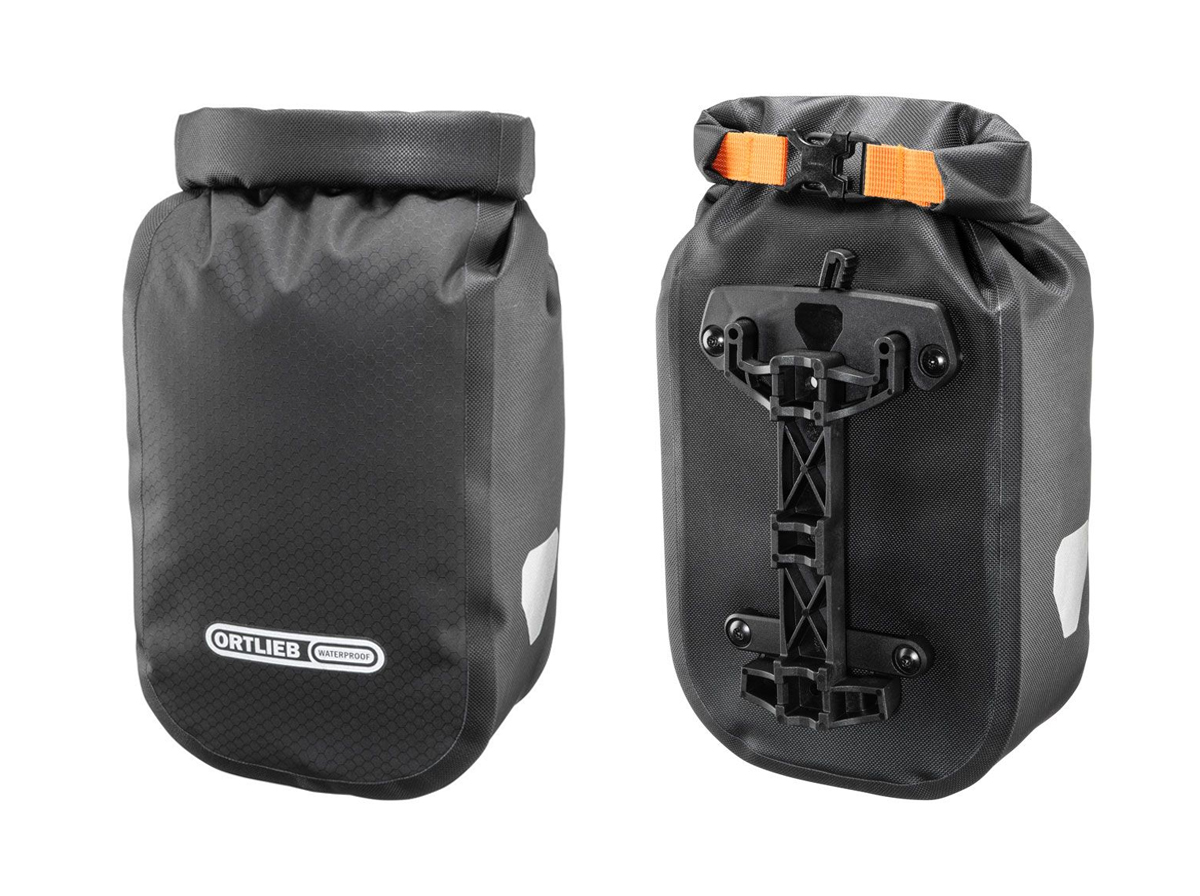
Ortlieb Fork Pack, $60
The Fork Pack is Ortlieb’s answer to Salsa’s ubiquitous Anything Cage and Bag combo, and those like it. Instead of a drybag that straps to a cargo cage, though, the Fork Pack is much more like a very small pannier (4.1L) that clips onto a small, strange-looking plastic rack. That rack is called the Quick-Lock S (QLS) adapter, and it attaches to any fork with triple mounts (or even to a suspension fork — more on that below). Once you bolt the adapter to your fork, simply fill the Fork Pack with your stuff, close the roll-top, and slide it onto the adapter. It clicks into place not unlike Ortlieb’s more traditional panniers. To remove the Fork Pack, flick the lever and pull it off the adapter. It’s a simple, secure system; it squeaked a little during testing, but it never budged, not even in rough terrain. Unlike the drybag systems, you can access the Fork Pack without having to remove it, which makes it great for storing things you might need during the ride, such as warm layers or rain gear. I did notice that if I overfilled the Fork Pack or otherwise overtightened the roll-top, the Pack’s attachment plate would warp, making it difficult to slide onto the adapter.
Included with the Fork Pack is a nifty, novel way of attaching the QLS adapter to a suspension fork: two flat metal bands, two threaded brackets, a couple of short bolts, and some plastic shrink wrap. Cut the shrink wrap in half and slide the bands into each piece, then use a lighter to shrink the wrap to size. The shrink wrap keeps the bands from slipping and from marring your fork. Then loop the bands around the fork leg and through the metal brackets, tightening with pliers. It’s a little fiddly and requires some trial and error to get just right (Ortlieb’s instructions are clear and easy to follow), but I’ll be darned if it didn’t work darn well. In fact, I would extend that to my overall evaluation of the Fork Pack: it works pretty darn well. –Dan Meyer
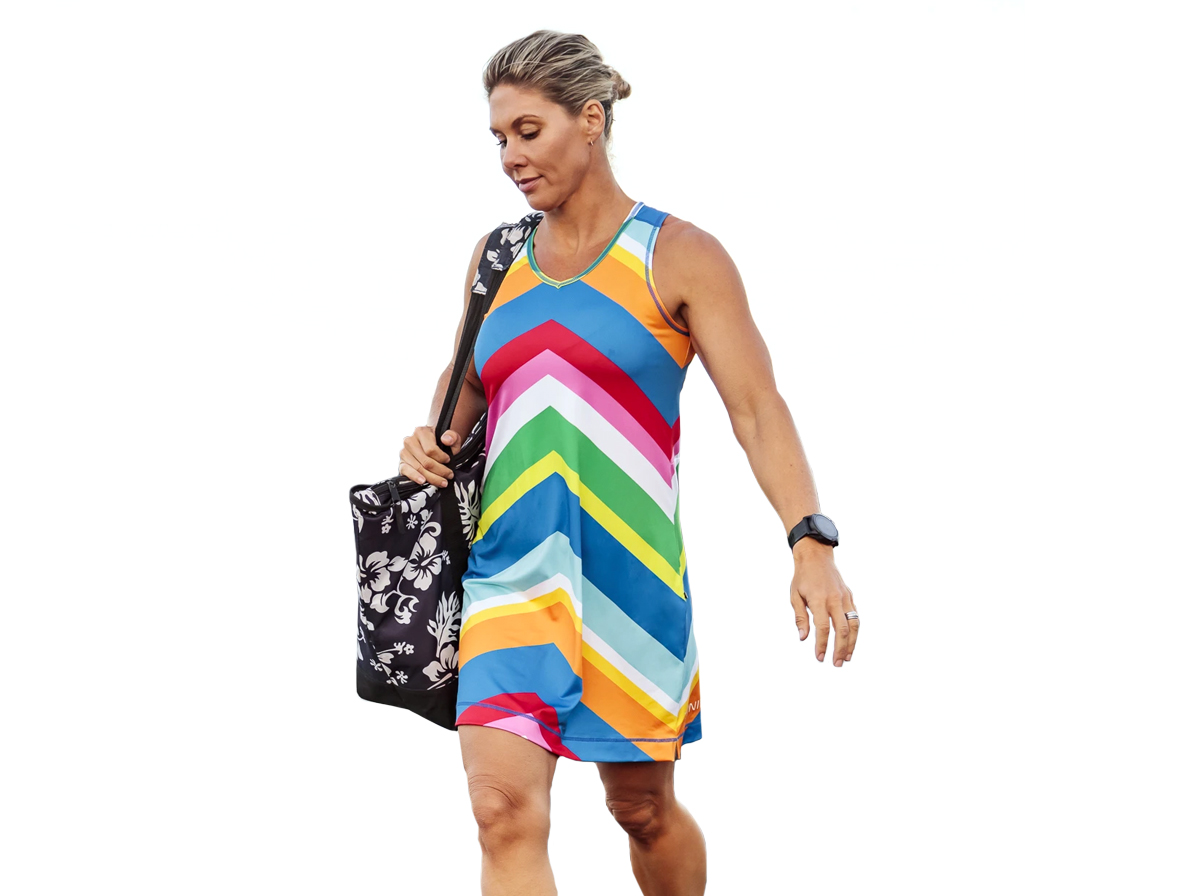
Tonik Cycling Melanie Active Sleeveless Sports Dress, $90
It’s not that I shy away from colors, but I do admit to being a bit sheepish when it comes to big, bold prints. When you’re riding your bike on long stretches of road, though, it’s good to have some pattern and brightness to break up the monotony of visuals for drivers who may otherwise not see us. Plus, it’s helpful to have something bright to pull out of a dark corner, whether it’s a dresser drawer, suitcase, or pannier, that you can be sure is gonna be comfortable, sweat-wicking, and stink-free. This dress has a sort of ’60s go-go dress vibe to it that’s pretty groovy, yet is still modest with plenty of chest coverage so getting down in the drops for a sprint won’t leave anyone with a larger bust uncomfortable. The arm holes are roomy, yet cut in a way that didn’t have me pulling at them for more or different coverage. The material is heavy, which helps it drape nicely and keep it wrinkle-free despite being rolled into the bottom of a backpack for a week, and Tonik claims it to be UPF 50+ though I had no real way to test that since the smoke covered a lot of the sun this summer. The large zippered pocket was a great alternative to wearing a hot fanny pack, though I am not a huge fan of a lot of weight back there pulling the fabric so I personally wouldn’t throw a bushel of apples in there or anything. My favorite feature is probably on the skirt — it cinches on the sides so the skirt doesn’t get caught on my legs when I pedal. Even with the flattering and roomy cut of the dress, riders who have larger or more muscly hips and thighs will appreciate being able to keep the skirt hiked up a bit so you maintain a full range of motion. –CW
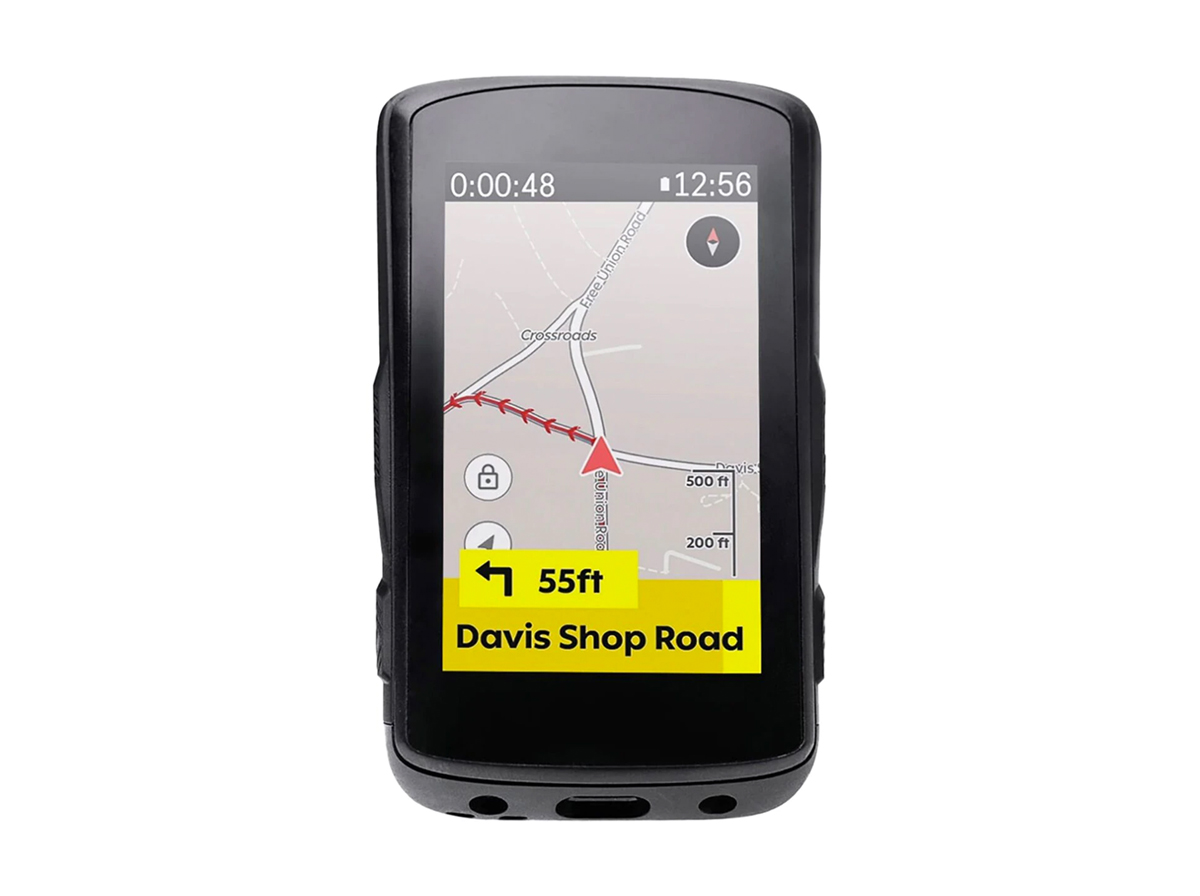
Hammerhead Karoo 2, $399
I reviewed the original Hammerhead Karoo last year just in time for it to be sacked and replaced with the Karoo 2. I was a big fan of the Karoo, and my only real complaints were of its sheer size and weight. Luckily, the Karoo 2 came through with all of the upsides of its predecessor (and more), in a much more svelte package. Even better, the Karoo 2’s display is nearly as big (3.2in. vs. 3.5in.); that big, beautiful screen is still this head unit’s biggest selling point, to my mind.
In case you never read my original review, the Karoo 2 is a do-it-all GPS cycling computer with an Android-based operating system and a glove-friendly touchscreen display with all the pixels. It’s highly customizable: you can create unique profiles for different types of rides (road, mountain, etc.), and customize the layout for each profile. The Karoo 2 has Bluetooth and Ant+ connectivity for use with your phone, heart rate monitor, power meter, or whatever else you want to connect to. There’s even a slot for a SIM card in case you’re traveling overseas and want to use cellular data. The navigation is excellent with turn-by-turn directions, and the Climber function shows how far you have to complete a climb and even shows you the grades coming up. I’m of two minds about Climber: one, it’s a little busy, in that it’s a lot to look at on the screen; and two, it can be very useful, in that it’s nice to know that there’s an 18 percent grade coming up that I should save my breath for. You can turn Climber off entirely, and there are three setting for its sensitivity.
Adding routes to the Karoo is pretty easy, depending on your usual method. Once signed on to the Hammerhead dashboard, you can either create a route on the dashboard’s route builder (which I find a little clunky), or you can use a third-party application that is Hammerhead-friendly, such as Ride with GPS or Komoot. My preference is to create a route on Ride with GPS and use the Hammerhead browser extension to automatically upload that route into my dashboard. Routes on your dashboard then automatically sync with your Karoo. I found uploading GPX data to be troublesome at times — Hammerhead doesn’t seem to like the Points and Services data found in Adventure Cycling routes, but the routes themselves upload just fine. You can also create a route on the Karoo itself by dropping a pin on the map.
My one complaint with the Karoo 2 is its mounting system. The original Karoo had a Garmin-style mount that worked just fine, but the Karoo 2 has a novel system. The head unit slides onto the included mount and locks into place easily enough, but I found it to be difficult to remove. You have to rotate the Karoo a fair bit and then push it away from you to slide it off the mount, but there are a few detents along the way, and it’s unclear how far you have to rotate it before it’s ready to slide off. There’s just a lot of resistance in every step, so much so that I broke the mount while bikepacking in the Sawtooth mountains this summer. Not ideal. Hammerhead kindly sent me another mount, which I haven’t broken (yet), but I guess I don’t see what was wrong with the original Garmin-style system. Mercifully, the Karoo 2 includes an adapter for use with a Garmin-style mount.
Otherwise, I’d have to say that the Karoo 2 is a home run for all kinds of cyclists: technophile roadies who want to see all their data, bikepackers traveling abroad, or even everyday cyclists who prefer big screens on their devices. And like on the original Karoo, Hammerhead is always pushing updates to improve the unit’s functionality. In other words, the Karoo 2 is getting better all the time. –DM
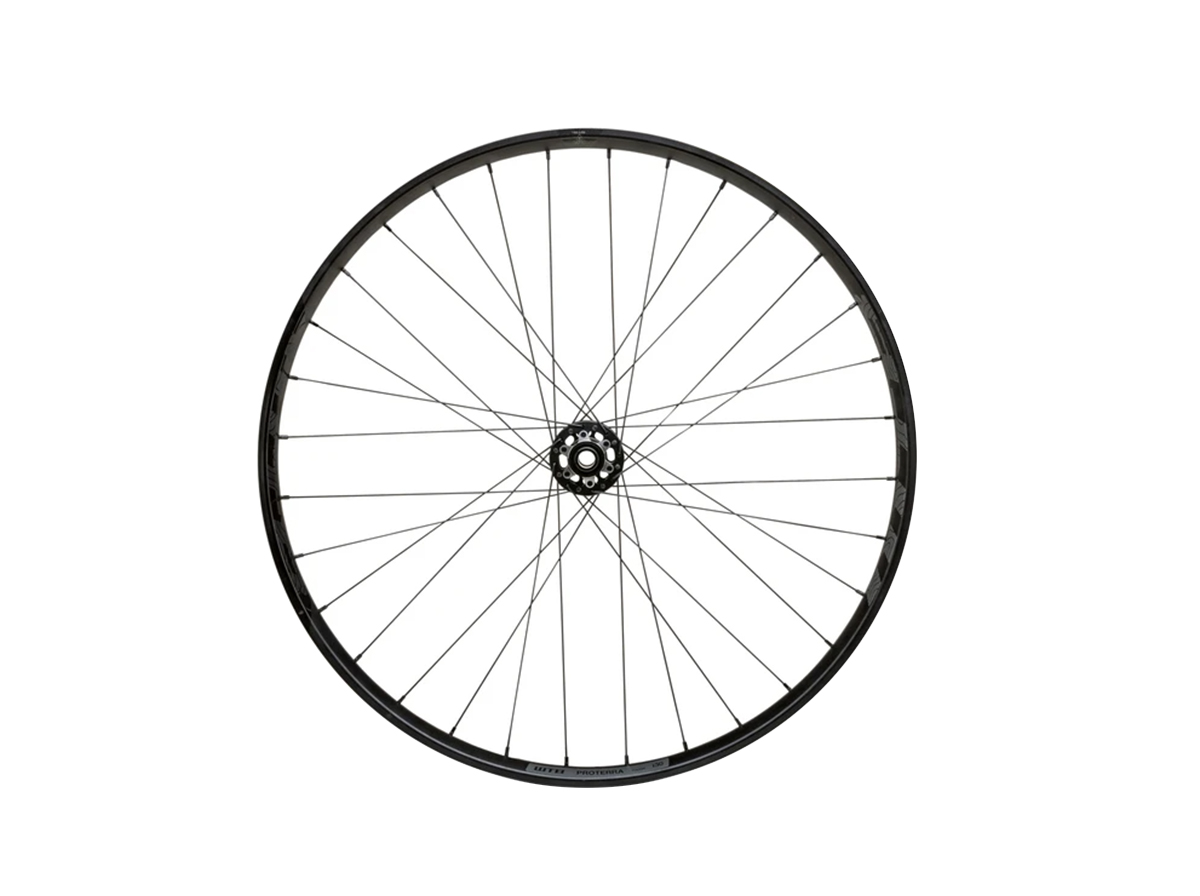
WTB Proterra Tough i30 Wheels, $715
One of the downsides of my line of work is that, because I get to check out all kinds of cool bikes and gear, it’s very easy to descend into snobbishness. Indeed, I have become a little bit of a wheel snob (I own a couple pairs of fairly high-end wheels, but no carbon). That being said, I found WTB’s new Proterra Tough i30 wheels refreshing in their blend of quality, simplicity, and price.
(About that price: when the Proterra line was released earlier this year, a wheelset was $650; that has since gone up to $715. I considered the original price to be a bargain, and the current price less so, but only slightly.)
The Proterra wheels are available in several different iterations, including 700c gravel wheels and “Light” mountain wheels. I tested the 29in. Tough i30 wheels, which feature WTB’s heavy-duty Tough rims, a 30mm internal rim width to support wider tires, and 32 double-butted J-bend spokes laced to WTB’s own sealed bearing hubs. The Proterra mountain wheels are only available with six-bolt rotor mounts and either SRAM XD or Shimano Micro Spline freehubs. All Proterra wheels are hand-laced at WTB’s facility in California.
The Tough wheels arrived taped and with tubeless valves installed, as with most aftermarket wheels these days. WTB claims a set weight of about 2100g, which my baking scale confirmed and which I consider to be a respectable weight for heavy-duty wheels at this price point. It’s worth noting that WTB’s updated tubeless system, called TCS 2.0, features Solid Strip, which sits under the tubeless tape and covers the spoke holes to provide a better seal. The tires mounted up easily with my trusty Specialized Air Tool Blast and, after adding sealant, held air for the entire test period.
I spent a long, full season using and abusing the Proterra wheels, and my takeaway is they live up to their “Tough” moniker. I hit (small) jumps, sped recklessly into rock gardens, and bashed into countless crater-sized brake bumps. I also subjected the wheels to a loaded overnight on difficult singletrack (look up “the Spine” on the Wasatch Crest Trail if you’re curious). Lesser wheels would have folded into a taco just thinking about what the Proterras went through (I should know, I have taco’d lesser wheels). After all that, the rims are straight and true, the spokes haven’t lost any tension, and only a tiny bit of moon dust found its way past the seals into the freehub. Heck, aside from a few minor scratches, I can’t find a single ding or dent on the rims. Even the bearings are silky smooth.
If your Proterras do need some attention, they’re easy to work on. You’ll need a cone wrench to remove the driveside end cap on the rear wheel, and after popping the freehub off you’ll see standard sealed bearings and a ratchet-and-pawl mechanism — nothing unusual, and no need for specialized tools or a mechanic with a PhD. The six-pawl freehub provides 5° of engagement, which isn’t lightning fast but plenty quick for mountain biking on technical terrain. The freehub is also pretty loud, which may or may not be your cup of tea. I like loud hubs because they get people’s attention on the trail (assuming they aren’t wearing ear buds). If your rims need truing, your mechanic will be happy to see brass nipples. Brass is heavier than aluminum, but longer lasting. For mountain biking and bikepacking, it’s worth the trade-off, in my opinion.
If I have one qualm with the Proterra wheels, it’s that there is no wider rim option. The Tough wheels have a lot of potential for bikepacking, and it would be great to see an i35 or i40 option to better support plus-sized tires. Other than that, the Proterra Tough wheels are a fine option for anyone looking for wheels that won’t break themselves or the bank. –DM