Daniel Mrgan

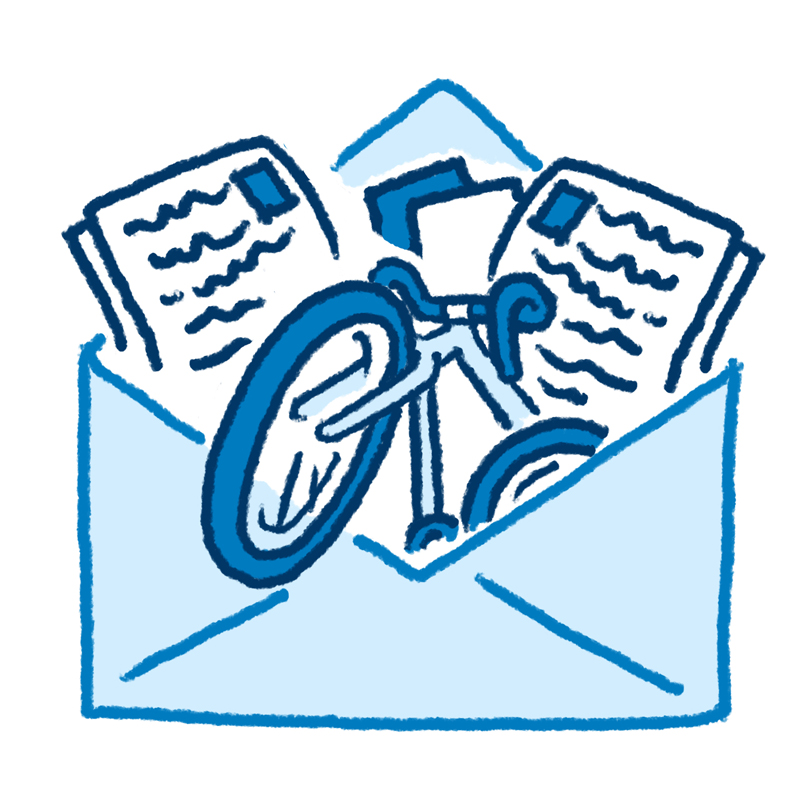
Bike Packing Tips (Not the Fun Kind)

Mar 16, 2021
|

This story originally appeared in the March 2021 issue of Adventure Cyclist magazine. 

An occupational hazard of running a bike magazine is a lot of time — a lot of time — spent unpacking, assembling, disassembling, and repacking bikes. I’ve joked for years that my ticket to YouTube fame is a channel called “Bike Packing with Alex” that’s just me prepping bikes to ship.

Hey, if 12-year-olds can make millions unboxing things, why can’t a middle-aged man put things back in boxes and make at least tens of dollars?!

All those paper cuts and packing tape have resulted in a few tips that come in handy whether you’re packing your own bike for transit or prepping something for shipment to its new owner.

  • Get the right size box. A modern mountain bike is too long for a road bike box, a gravel bike will be swimming in a trail bike box, and a fat bike box is barely under the major carriers’ oversize freight charge. That doesn’t sound like a big deal, but when the warning pops up advising you that if your measurements are off by an inch you could be charged $850(!!!), you sit up and pay attention.
     
  • Secure anything even moderately “loose” in the box, including pedals or other accessories. Put them in a box (with packing material to keep them from rattling around) and tape that box to the inside of the bike box. Loose parts are projectiles.
     
  • Readily available packing materials like packing paper, bubble wrap, and even the dreaded packing peanuts can make a big difference, but you are going to need a few bike-specific items.
     
    • Put disc brake pad spacers in both calipers to prevent the pads from getting compressed if the levers get pulled
       
    • Use spacers in the front and rear axles to avoid the frame and fork being squeezed
       
    • If you leave the rotor on the front wheel, find a real rotor protector.
       
    • All of these items are included in any new (or hopefully used!) bike shipped to you, so squirrel a couple away for a rainy day.
       
  • Inflate tires … partway. Some air in the tires provides natural shock absorption and bumpers for your precious cargo, but if your box ends up on a plane (or a truck going over the Rockies), pressure changes could lead to burst tubes or a blown bead. Leave plenty of space between your PSI and the sidewall-indicated maximum.
     
  • I’ll be honest, I usually leave the rear derailer attached but shifted into a taller gear to move it inboard from the edge of the frame. But if you want to be extra careful, remove the derailer and zip-tie it safely out of the way to the chainstay so it doesn’t get smushed.
divider
 

Related Reading

Comments

Paul Toigo March 31, 2021, 7:17 PM

1) "Use spacers in the front and rear axles to avoid the frame and fork being squeezed." No need for a rear spacer because leaving the rear wheel installed is efficient use of space. In my experience, this is how bikes are boxed by manufacturers.

2) "pressure changes could lead to burst tubes or a blown bead." is not possible as noted by Dave B. However, do let the air down in the tires because the airlines have a tendency to believe it is possible.

3) "I usually leave the rear derailer attached". YMMY, but I remove the chain, FD, and RD for protection. Something that is quite easy with electronic shifting and chains with a "Missing Link".

4) Cut up plastic report covers and tape to the inside of the box above each handhold. Also reinforce where the fork rests in the box and either side of the rear axle.

5) Make a list of the bike assembly steps. Each step should include the quantity of fasteners, tool, and torque.

6) Pack something like Silca's T-Ratchet + Ti-Torque Kit for lightweight, precision assembly.

7) If you use any consumables, e.g. cable ties or tape, be sure to pack some for the return trip.

8) Before any disassembly, mark the seatpost height and the handlebars rotation relative to the stem with white electrical tape. For the second, mark the tape at the stem clamp gap.

9) Water bottles can serve as sturdy, lightweight protection and storage of things like Eggbeater pedals. (Put the pedals in a plastic bag too.)

Dave B March 19, 2021, 7:29 AM

Thread the pedals back in from the inside of the crank arms. That narrows the frame and keeps them all together. If you travel a lot, make dedicated dropout spacers from the axles, cones, locknuts and qr skewers recovered from trashed hubs. These are more secure than the plastic spacers that come with new bikes. There is no need to reduce tire pressure. The absolute most high altitude can increase it is 15 psi. Foam pipe insulation in appropriate diameters is great for wrapping and padding frame tubes and fork legs and is reusable. A hose clamp around the steerer tube will keep the fork from dropping out if the bar/stem assembly is removed for packing.

Jim Harrison March 18, 2021, 1:25 PM

Maybe it is just my misfortune, but it seems that on international flights my bike and packing is removed for inspection and then re-packed by the inspector, quite possibly one having a bad day. So I try to plan for that by making things bundled, zipped and padded so that the perhaps uncaring inspector finds it easiest to repack in a correct way. Anything that can only go in the box (like helmet, front rack tent poles or cooking gear) by careful positioning/ wedging between other stuff is a no-no. I will, with my next trip, put a small box of chocolates and a "thanks in advance for your care" note for the inspector on the top tube.

Log in to post a comment

Forgot Password?

Enter your email address and we'll send you an email that will allow you to reset it. If you no longer have access to the email address call our memberships department at (800) 755-2453 or email us at memberships@adventurecycling.org.

Not Registered? Create Account Now.